Paver Driveway Installation: Top 7 Expert Tips 2025
Transform Your Home’s Entrance with Paver Driveway Installation
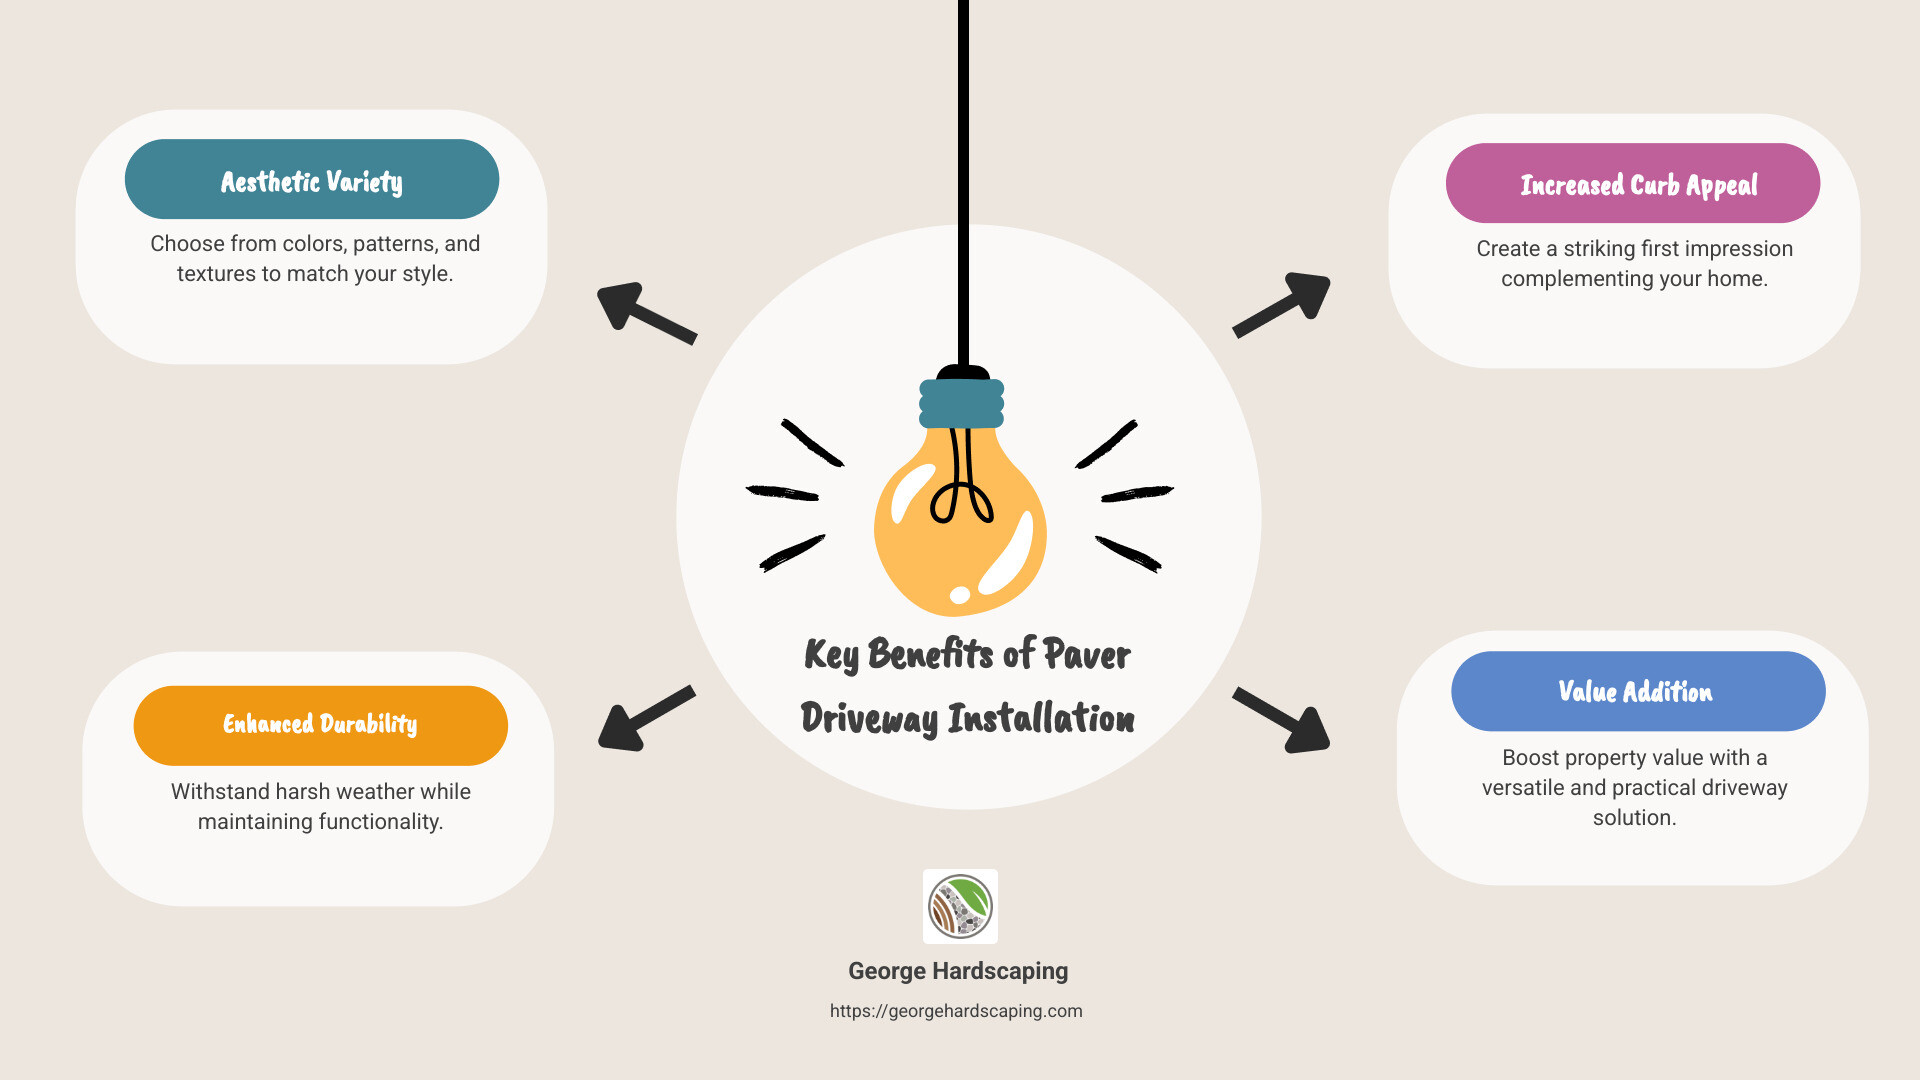
Paver Driveway Installation is a game-changer for homeowners looking to boost their property’s curb appeal and functionality. If you’re in Essex County, MA, or the North Shore, this guide will walk you through how paver driveways improve aesthetics, offer best durability, and add significant value to your home.
- Aesthetics: Choose from a wide range of colors, patterns, and textures to suit your personal style.
- Functionality: Enjoy a stable and resilient surface that stands up to the harsh New England weather.
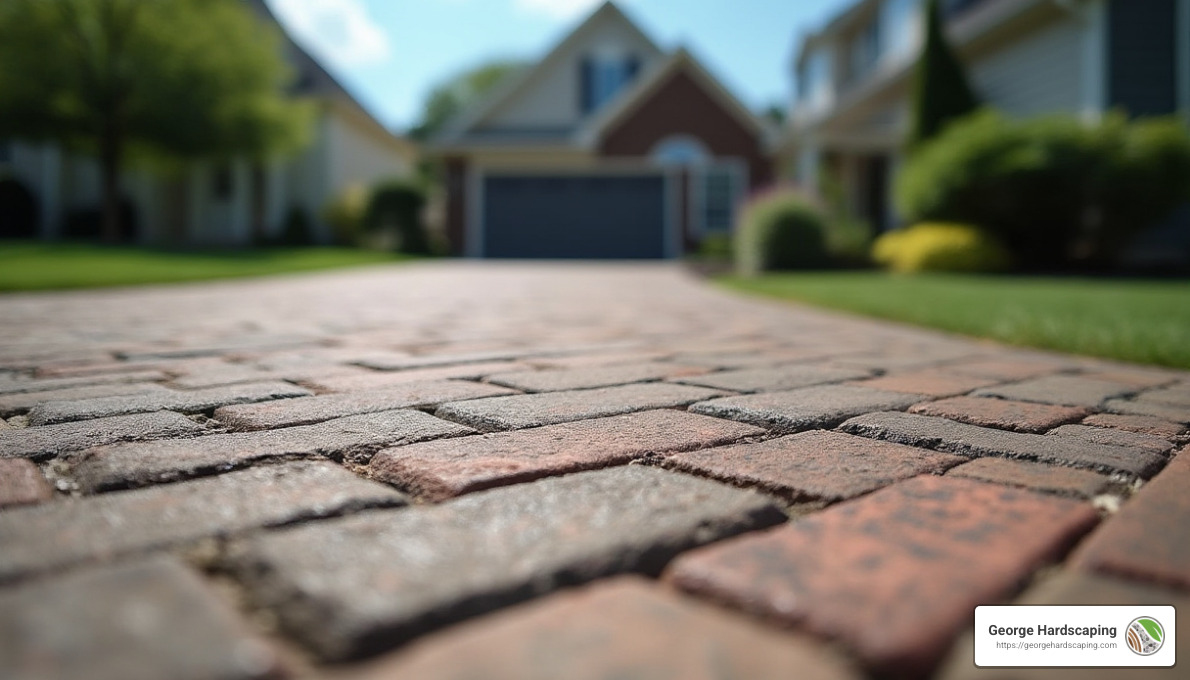
- Curb Appeal: Create a striking first impression with a driveway that complements your home’s architecture.
Paver driveways have become the gold standard in home improvement projects due to their beauty and versatility. They’re not only visually appealing but also practical, functioning efficiently in various climates and conditions.
Important Paver Driveway Installation terms:
– can pavers be installed over concrete driveway
– driveway paver ideas
– interlocking driveway pavers
Benefits of Paver Driveway Installation
Paver driveways are more than just a pretty face for your home. They offer a range of practical benefits that make them a wise investment for any homeowner in Essex County, MA.
Durability
Paver driveways are built to last. Unlike concrete, which can crack under pressure or due to weather changes, pavers are designed to handle heavy loads and shifting grounds without breaking. This makes them a great choice for the harsh New England climate where freeze-thaw cycles are common.
- Resilience: Individual pavers can move slightly, reducing the risk of cracking.
- Longevity: With proper installation and maintenance, paver driveways can last for decades.
Low Maintenance
One of the standout features of paver driveways is their low maintenance needs. Unlike asphalt, which requires regular sealing and repair, pavers need minimal upkeep.
- Easy Repairs: If a paver gets damaged, you can replace just that piece instead of the entire driveway.
- Simple Cleaning: A quick sweep or rinse is usually enough to keep pavers looking fresh.
Customization
Paver driveways offer endless possibilities for customization. You can choose from a variety of materials such as brick, concrete, and stone, each available in different colors and textures.
- Design Flexibility: Create unique patterns that match your home’s style.
- Permeable Options: Opt for eco-friendly permeable pavers that help manage stormwater and reduce runoff.
Paver driveways not only improve the beauty of your home but also provide a durable, low-maintenance surface that can be custom to your personal style. Investing in a paver driveway is a smart decision that pays off in the long run with increased home value and reduced maintenance costs.
Preparing for Paver Driveway Installation
Proper preparation is key to a successful Paver Driveway Installation. Let’s break down the essential steps that lay the groundwork for a durable and stable driveway.
Excavation
The first step is excavation. You’ll need to clear the area where the driveway will be. This involves digging to a depth of about 7-9 inches below the desired finished level. It’s crucial to identify and mark all underground utilities before beginning to avoid any accidents.
- Depth: Digging deep enough is essential to accommodate the base material and pavers.
- Safety: Always call 811 to mark utilities before you dig.
Subsoil Preparation
After excavation, you’ll deal with the subsoil, which needs to be evened out. Remove large stones, roots, and debris. This ensures a stable ground for the base materials.
- Cleaning: Clear the subsoil from any obstacles.
- Leveling: Make sure the ground is even to prevent future shifting.
Compaction
Compaction is the next vital step. Use a mechanical compactor to increase the soil’s density. This helps prevent future settling and shifting of the pavers.
- Stability: A well-compacted base prevents movement.
- Tools: Use a plate compactor for best results.
DriveGrid
Installing a DriveGrid is an excellent way to reinforce the base. This geogrid material distributes weight evenly, preventing ruts and prolonging the driveway’s life. Ensure each segment overlaps by at least 12 inches for maximum strength.
- Reinforcement: DriveGrid adds extra support.
- Overlap: Ensure proper overlap for continuity.
Filter Fabric
Finally, lay filter fabric along the sides of the excavation. This fabric prevents the base materials from mixing with the surrounding soil and aids in drainage.
- Integrity: Keeps base materials intact.
- Drainage: Helps prevent water accumulation and damage.
By following these steps, you’re setting up a strong foundation for your paver driveway. Proper preparation ensures your driveway will be durable and long-lasting, ready to withstand the elements and daily use.
Next, we’ll explore how to choose the right paver materials to suit your driveway needs.
Choosing the Right Paver Materials
Selecting the right materials is crucial for a successful Paver Driveway Installation. The choice impacts durability, appearance, and how well your driveway handles the elements. Let’s explore some popular options: brick, concrete, stone, and permeable pavers.
Brick
Brick pavers bring a classic charm that never fades. They are strong and can handle heavy loads, making them perfect for driveways. You can find them in various colors, and they can be laid in different patterns to add character to your home.
- Durability: Known for strength and long-lasting appeal.
- Design: Offers various patterns and color choices.
Concrete
Concrete pavers are a versatile and budget-friendly choice. They come in different shapes, sizes, and colors, allowing for creative designs. Concrete holds up well in harsh weather and requires minimal maintenance—just a rinse and sweep now and then.
- Affordability: Generally more cost-effective than other options.
- Weather Resistant: Handles freezing and thawing without cracking.
Stone
Stone pavers provide a natural and neat look. Materials like granite, limestone, and slate offer unique textures and colors. While stone is pricier, its durability and timeless beauty can justify the investment.
- Aesthetic Appeal: Offers a high-end, natural look.
- Longevity: Can last for decades with proper care.
Permeable Options
Permeable pavers are an eco-friendly choice that allows water to seep through, reducing runoff and preventing erosion. This is especially beneficial in areas with heavy rain. They are made from various materials like brick, stone, and concrete, and are just as durable as non-permeable options.
- Environmental Benefits: Helps manage stormwater and reduce flooding.
- Sustainability: Supports groundwater replenishment.
When choosing your paver materials, consider your local climate, the load your driveway will bear, and how much maintenance you’re willing to do. The right choice will improve your home’s curb appeal and ensure your driveway stands the test of time.
Next, we’ll dive into the step-by-step guide to installing your paver driveway, ensuring a professional finish.
Step-by-Step Guide to Paver Driveway Installation
Installing a paver driveway can seem daunting, but breaking it down into simple steps makes it manageable. Here’s how you can achieve a professional finish:
Planning and Design
Start with a solid plan. Use graph paper to sketch your driveway layout. Consider the slope for drainage—at least 1/8″ per linear foot is recommended. This prevents water from pooling and damaging your driveway.
Tip: Use stakes and string to outline your driveway. This visual guide helps keep your design on track.
Setting the Base
A strong base is crucial for a durable driveway.
- Excavate: Dig down about 7-9 inches. This depth accommodates the base materials and pavers.
- Subsoil Preparation: Remove rocks and debris, then compact the soil. A mechanical compactor is your best friend here.
- DriveGrid and Filter Fabric: Lay a DriveGrid to distribute weight evenly and prevent rutting. Cover the area with filter fabric to keep the base materials from mixing with the soil.
Laying the Pavers
With the base ready, it’s time to lay the pavers.
- Start from a Corner: Begin at one corner and work your way across. This ensures a uniform look.
- Spacing and Alignment: Place each paver snugly against the next. Use a rubber mallet to tap them into place, ensuring they are level.
Pro Tip: If your design includes curves, you might need to cut the pavers. Use a masonry saw for clean cuts.
Securing the Pavers
Once the pavers are laid, secure them to prevent shifting.
- Joint Sand: Spread fine sand over the pavers. Use a broom to fill the joints completely.
- Compaction: Run a plate compactor over the pavers. Do this in multiple passes for stability. Cover the compactor with a thick fabric to avoid scuffing the pavers.
With these steps, your Paver Driveway Installation will be both beautiful and durable. Next, we’ll explore how to maintain your new driveway to keep it looking great for years.
Maintenance and Upkeep of Paver Driveways
Congratulations on your new paver driveway! To keep it looking fresh and lasting long, regular maintenance is key. Here’s how to take care of it:
Cleaning
Regular Sweeping
Leaves, dirt, and debris can accumulate quickly. A simple sweep with a broom every week helps prevent stains and buildup.
Rinse with Water
For a deeper clean, use a garden hose to wash away dirt. If you have stubborn stains, a pressure washer can help—but be careful not to dislodge the joint sand.
Stain Removal
Oil or grease stains need special attention. Use a cleaner recommended for paver stones. Always test the cleaner on a small area first to ensure it doesn’t damage the pavers.
Resealing
Resealing pavers protects them from the elements and keeps them looking vibrant. It’s generally recommended to reseal every 2-3 years, but this can vary depending on weather conditions.
Choose the Right Sealer
Select a sealer suitable for your paver material. Your local home improvement store can help you with options.
Clean Before Sealing
Make sure the pavers are clean and dry before applying the sealer. This ensures the sealer adheres properly.
Even Application
Use a sprayer or roller to apply the sealer evenly. Avoid letting it pool by spreading it out smoothly.
Preventing Weed Growth
Weeds can sneak between pavers and cause problems. Here’s how to keep them at bay:
Polymeric Sand
Fill the joints with polymeric sand. It hardens to lock the pavers together and prevent weeds from sprouting.
Regular Debris Removal
Keeping the joints clean stops seeds from taking root. So, keep up with your sweeping!
Herbicides
Consider applying a pre-emergent herbicide in the joints to prevent weed germination. This step can save you a lot of hassle in the long run.
By following these maintenance tips, your driveway will stay in top shape, enhancing your home’s curb appeal and protecting your investment. Next, we’ll tackle some frequently asked questions about Paver Driveway Installation.
Frequently Asked Questions about Paver Driveway Installation
Is it cheaper to pour concrete or lay pavers?
When considering the cost of installing a driveway, concrete might seem like the cheaper option at first glance. On average, concrete costs between $6 to $12 per square foot. However, pavers, which can range from $15,000 to $25,000 for a medium-sized driveway, offer significant long-term benefits that can offset the initial expense. Pavers are more durable, easier to repair, and can boost your property’s value. Over time, the lower maintenance and repair costs of pavers could make them the more cost-effective choice.
How do you install driveway pavers over dirt?
Installing pavers over dirt is a detailed process that ensures your driveway is stable and long-lasting. Here’s a simple guide:
- Clear and Excavate: Remove grass and debris. Dig down about 8-12 inches, depending on soil and expected load.
- Compact the Soil: Use a plate compactor to create a firm base.
- Add Base Material: Lay a 4-inch layer of crushed stone or gravel. Compact it well.
- Install Edge Restraints: These prevent pavers from shifting.
- Lay the Pavers: Place them in your desired pattern, ensuring they are level.
- Sand Filling: Sweep fine sand into the joints and compact again to lock pavers in place.
This method ensures your driveway is both functional and attractive.
What is the base for a paver driveway?
A solid base is crucial for the longevity and stability of your paver driveway. It’s typically made up of three layers:
- Sub-base Layer: Usually 4-6 inches of compacted crushed stone or gravel. This layer provides drainage and a strong foundation.
- Base Layer: A finer gravel or coarse sand, about 1-2 inches thick, smooths the surface for pavers.
- Bedding Layer: The final 1-inch layer of fine sand helps adjust the height and position of pavers during installation.
By preparing these layers properly, you’ll ensure a stable and durable driveway that can withstand the test of time.
Conclusion
At George Hardscaping, we believe that a driveway is more than just a path to your garage—it’s the first impression of your home. Our team is dedicated to delivering top-notch paver driveway installation services that improve both the aesthetics and functionality of your property. With our expertise, your driveway can become a stunning feature that adds value and curb appeal to your home.
Operating throughout Essex County, MA, we pride ourselves on our commitment to quality craftsmanship. Our skilled professionals take the time to understand your vision, ensuring that every project is custom to meet your specific needs. Whether you’re in Beverly, Salem, or any of the other beautiful towns we serve, you can count on us to transform your outdoor space with precision and care.
Choosing pavers for your driveway is not just about looks. It’s about investing in a durable, low-maintenance solution that can withstand the harsh New England weather. Our pavers offer flexibility in design and are built to last, providing a wise investment for homeowners looking to improve their property’s appeal.
If you’re ready to lift your home’s exterior, contact us today to discuss your project. Let us help you create a driveway that’s not only practical but also a beautiful extension of your home.
