
Stone veneer installation: Top DIY Tips for Success
Stone veneer installation offers a transformative way to improve both the interior and exterior of your home. This popular choice for homeowners provides the majestic look of natural stone without the hefty weight and cost. Here’s what you should know:
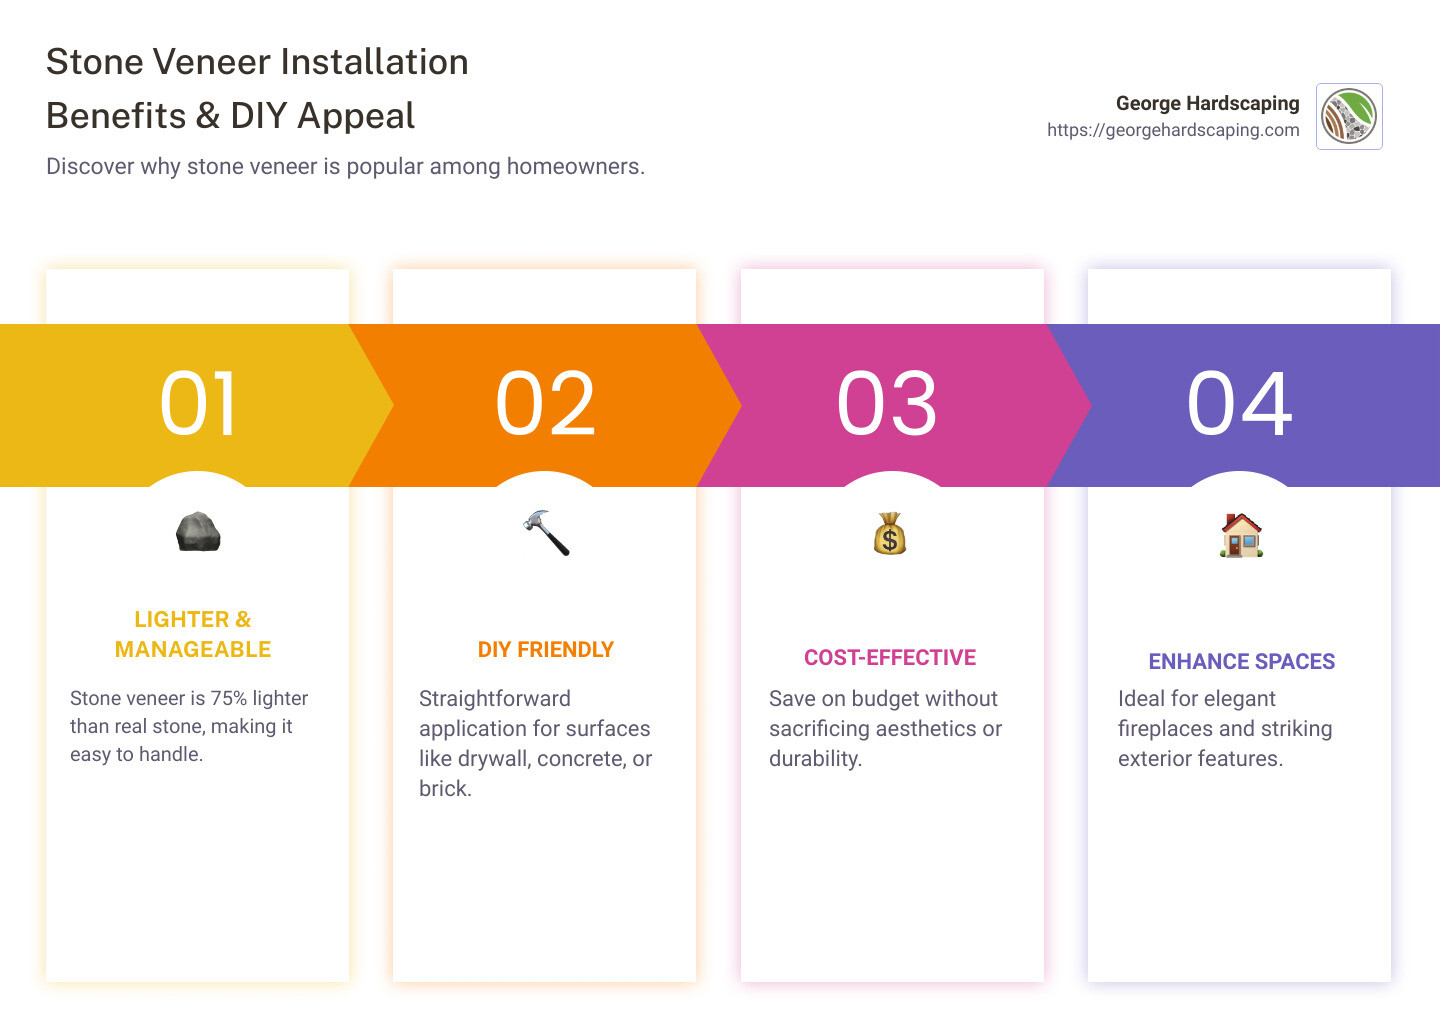
- Benefits: It’s 75% lighter than real stone, easy to handle, and ideal for creating dreamy spaces.
- DIY Appeal: Stone veneer is approachable for DIY enthusiasts, thanks to its straightforward application process on surfaces like drywall, concrete, or brick.
- Cost-Effectiveness: Expect budget savings without sacrificing aesthetics or durability. Faux stone, with its low maintenance needs, becomes an economical choice over time.
Whether you’re aiming for an neat fireplace surround or a striking exterior feature, the benefits of stone veneer make it a top contender for any home improvement project.
Easy Stone veneer installation glossary:
– Stone patio installation
– Stone retaining walls
Preparing for Stone Veneer Installation
Before diving into stone veneer installation, proper preparation is key to ensuring a durable and professional-looking outcome. Let’s break down the essential steps, from surface prep to material calculation and weather-resistant barriers.
Surface Preparation
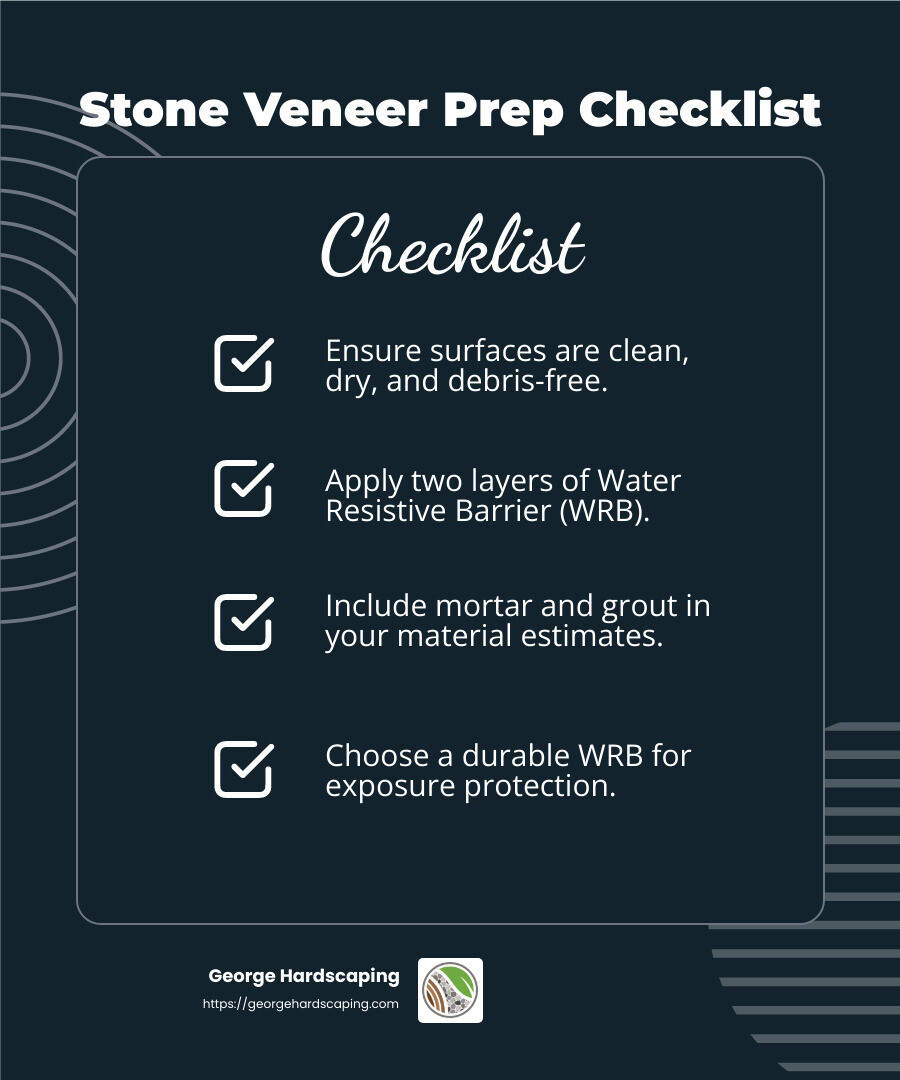
The first step is to ensure the surface is ready for the stone veneer. Check for structural integrity and compliance with local building codes. Surfaces should be clean, dry, and free from any loose debris. If you’re working with a framed wall, ensure that sheathing materials have a proper gap, typically around ⅛” at seams, to prevent cracking due to expansion.
For frame construction, apply two layers of Water Resistive Barrier (WRB). The primary WRB manages water drainage, so choose one with good vapor permeability and tear resistance. The second layer acts as a protective buffer and drainage plain. Remember to install a weep screed at the foundation transition point to direct moisture away from the building.
Material Calculation
Accurate material calculation helps keep your project on budget. Start by measuring the area where the stone veneer will be applied. Consider the size and shape of each stone piece to determine how many you’ll need. Laying out the stones beforehand can help visualize the pattern and identify any pieces that might need trimming.
When calculating materials, don’t forget to include mortar and grout in your estimates. Using a pre-blended, polymer-fortified Type S mortar is recommended for strong adhesion.
Weather-Resistant Barriers
Weather-resistant barriers are crucial for protecting your installation from the elements. In frame construction, the WRB not only shields against moisture but also plays a role in the thermal performance of the wall. Choose a WRB that is durable and easy to install, considering factors like UV exposure and fastener penetration risk.
For masonry substrates like CMU block or brick, a WRB isn’t required by building codes. However, adding one can provide extra protection, though it means you can’t adhere the stone directly to the masonry.
By carefully preparing your surface, calculating materials accurately, and ensuring effective weather-resistant barriers, you set the stage for a successful stone veneer project. These steps are essential for achieving a long-lasting and visually appealing installation.
Stone Veneer Installation Techniques
Once you’re prepared, it’s time to dive into the actual stone veneer installation. This section will guide you through the key techniques: mortar application, using cement board, and applying a scratch coat.
Mortar Application
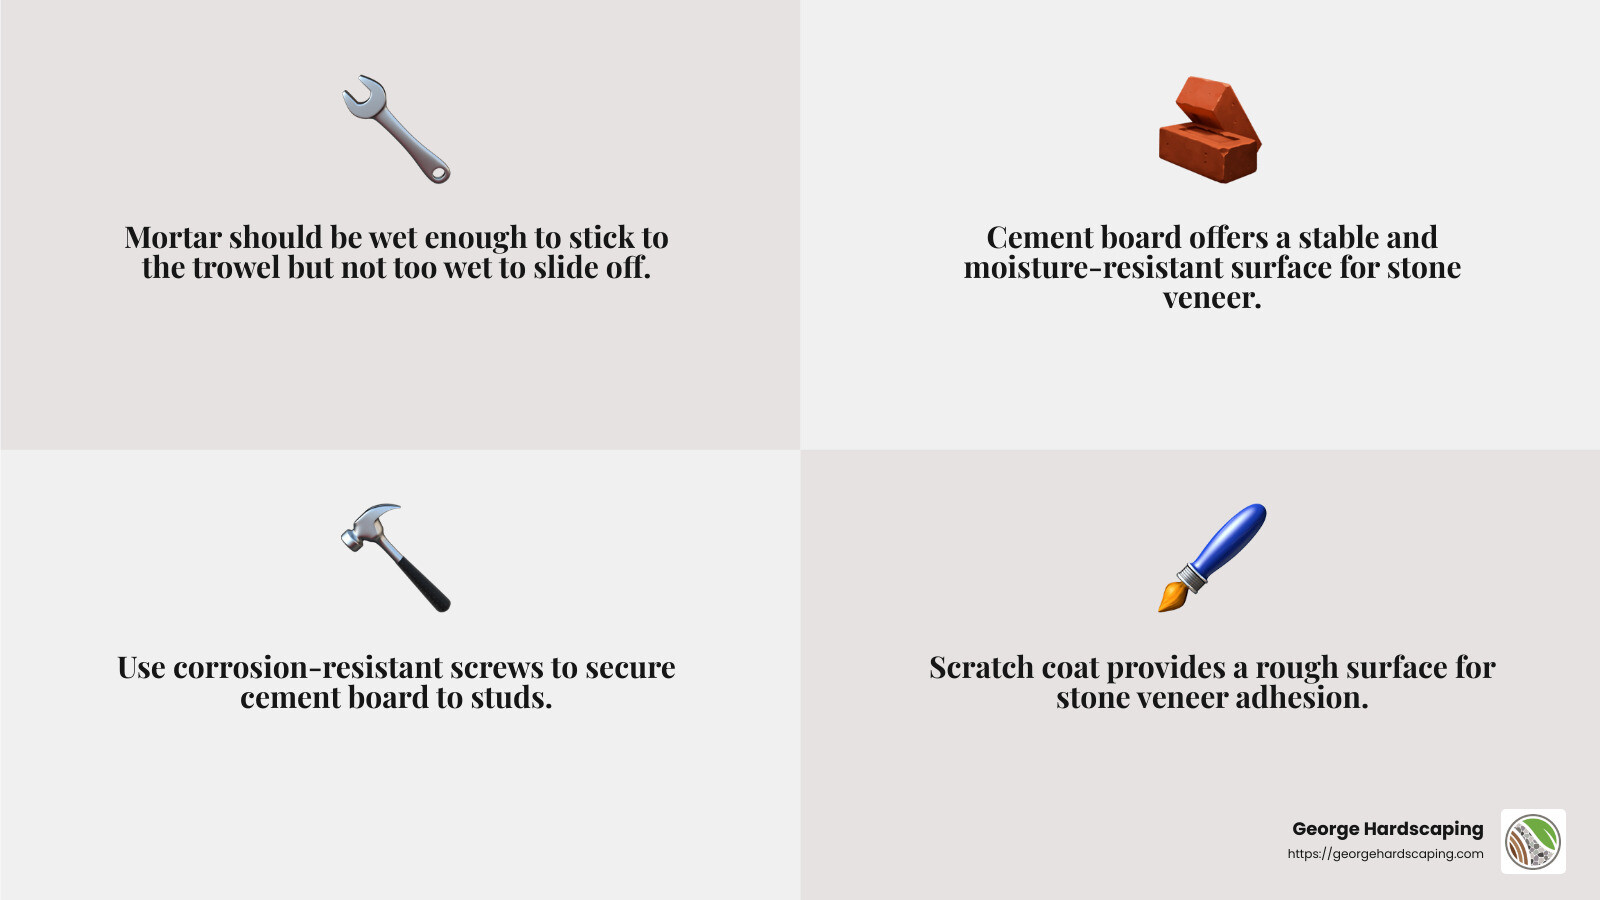
Mortar is the glue that holds your stone veneer in place. For the best results, use a pre-mixed Type S mortar, which is designed for veneer stone. Consistency is key—the mortar should be wet enough to stick to the trowel when inverted but not so wet that it slides off.
- Apply the mortar: Start by spreading a ½-inch thick layer onto the substrate using a trowel. Be sure to cover the entire area where the stone will adhere.
- Create grooves: Use a square-notched trowel to scratch horizontal grooves into the mortar. This step ensures a better bond between the stone and the mortar.
- Back buttering technique: Before placing the stone, swipe mortar across its back. This helps create a strong bond and a suction effect, keeping the stone in place until the mortar sets.
Cement Board
Cement board serves as a reliable substrate for stone veneer, especially in areas prone to moisture. It offers a stable, flat surface that can support the weight of the stones.
- Installation: Secure the cement board to the studs using corrosion-resistant screws. Ensure the board is level and joints are taped with fiberglass mesh tape.
- Direct application: You can apply stone veneer directly to the cement board. Make sure the board is clean and dry before you start applying mortar.
Scratch Coat
The scratch coat is a layer of mortar applied over the metal lath to create a rough surface for the stone veneer to adhere to. It’s crucial for ensuring a solid bond and for water management.
- Apply the scratch coat: Spread a ½ to ¾-inch thick layer of mortar over the lath. Use a self-furred lath to ensure the mortar sits at the correct thickness.
- Scratch the surface: Use a notched trowel to create horizontal lines in the wet mortar. This rough texture is essential for the stone veneer to grip onto.
Following these techniques will set you on the path to a successful stone veneer installation. By paying attention to detail and following these steps, you’ll achieve a professional finish that improves your space.
Achieving a Professional Finish
Once you’ve mastered the installation basics, it’s time to focus on achieving a professional finish with your stone veneer project. This involves careful attention to grouting, maintaining joint consistency, and strategic layout planning.
Grouting
Grouting is crucial for both aesthetics and durability. It fills the gaps between stones, securing them in place and preventing moisture from seeping in.
- Use a grout bag: Fill a grout bag with mortar and cut the tip to a 5/8-inch opening. This allows for smooth application and helps avoid messy spills.
- Fill joints completely: Press the grout bag’s tip deep into the joints. Ensure the mortar fills from the back to the front to prevent hollow spots, which can lead to cracks over time.
- Rinse the bag regularly: After every third bagful, rinse the bag to prevent sand buildup, which can clog the tip and make grouting difficult.
Joint Consistency
Consistent joints are key to a polished look. They ensure uniformity and improve the stone veneer’s visual appeal.
- Monitor joint width: Aim for a uniform joint width, usually around 1/2 inch. Adjust as needed for specific styles, like dry-stack, which requires tighter joints.
- Smooth and shape the mortar: Once the mortar begins to set (about 20-30 minutes), use a tuckpointing trowel or even a carpenter’s pencil to smooth and shape the joints. This helps create a clean, professional finish.
Layout Planning
Planning your layout before starting the installation can save time and ensure a seamless look.
- Dry lay stones: Arrange stones on the ground to plan your layout. This helps visualize the final look and allows you to adjust for color and size variations.
- Start from the corners: If using corner pieces, install them first. This provides a natural look and helps guide the rest of the layout.
- Stagger joints: Avoid aligning vertical joints. Stagger them to create a more natural and appealing look.
Focusing on these details will help you achieve a professional finish with your stone veneer installation. With careful planning and execution, your project will not only look great but also stand the test of time.
Frequently Asked Questions about Stone Veneer Installation
What is the best way to install stone veneer?
The best way to install stone veneer involves using the right trowel technique, creating a mortar ridge, and leveraging the suction effect to ensure the stones stay in place.
- Trowel Technique: Use a square-notched trowel to apply the adhesive. This creates grooves in the mortar, helping the stone veneer adhere better.
- Mortar Ridge: When applying mortar, aim for a 1/2-inch-thick layer. This provides enough material to create a strong bond when the stone is pressed against it.
- Suction Effect: To improve adhesion, swipe mortar across the entire back of the stone and make a perimeter ridge. This creates a suction effect when the stone is pressed onto the wall, holding it in place until the mortar sets.
What do you put under stone veneer?
Proper substrate preparation is crucial when installing stone veneer. The choice of substrate depends on the surface you are working with.
- Cement Board: This is a common substrate choice due to its durability and resistance to moisture. It provides a stable base for the stone veneer.
- Substrate Options: Besides cement board, other options include masonry substrates like brick or concrete. However, each type requires specific preparation to ensure proper adhesion.
Can you apply stone veneer directly to cement board?
Yes, you can apply stone veneer directly to cement board. The process is straightforward but requires attention to detail for a successful installation.
- Direct Application: Cement board offers a flat, stable surface, making it ideal for direct application. Ensure the board is securely fastened and free from debris before starting.
- Construction Adhesive: Use a high-quality construction adhesive suitable for stone veneer. This ensures a strong bond between the veneer and the cement board.
By following these guidelines, you can achieve a successful stone veneer installation that looks professional and lasts for years.
Conclusion
At George Hardscaping, we take pride in delivering quality craftsmanship throughout Essex County, MA. Our expertise in stone veneer installation ensures that every project improves both the beauty and functionality of your outdoor spaces. We understand that a well-executed installation not only increases curb appeal but also adds long-term value to your property.
Our team is committed to using the best materials and techniques, ensuring your stone veneer is installed to withstand the test of time and weather. Whether you’re in Beverly, Salem, or any of our other service locations, we’re here to help transform your landscape dreams into reality.
If you’re considering a stone veneer project, trust the professionals at George Hardscaping to guide you through the process with the highest level of craftsmanship and attention to detail. Visit our North Shore hardscaping page to learn more about our services and how we can improve your home’s exterior.
