How to Repair a Brick Step: Top Guide in 2024!
The Importance of Brick Step Repairs
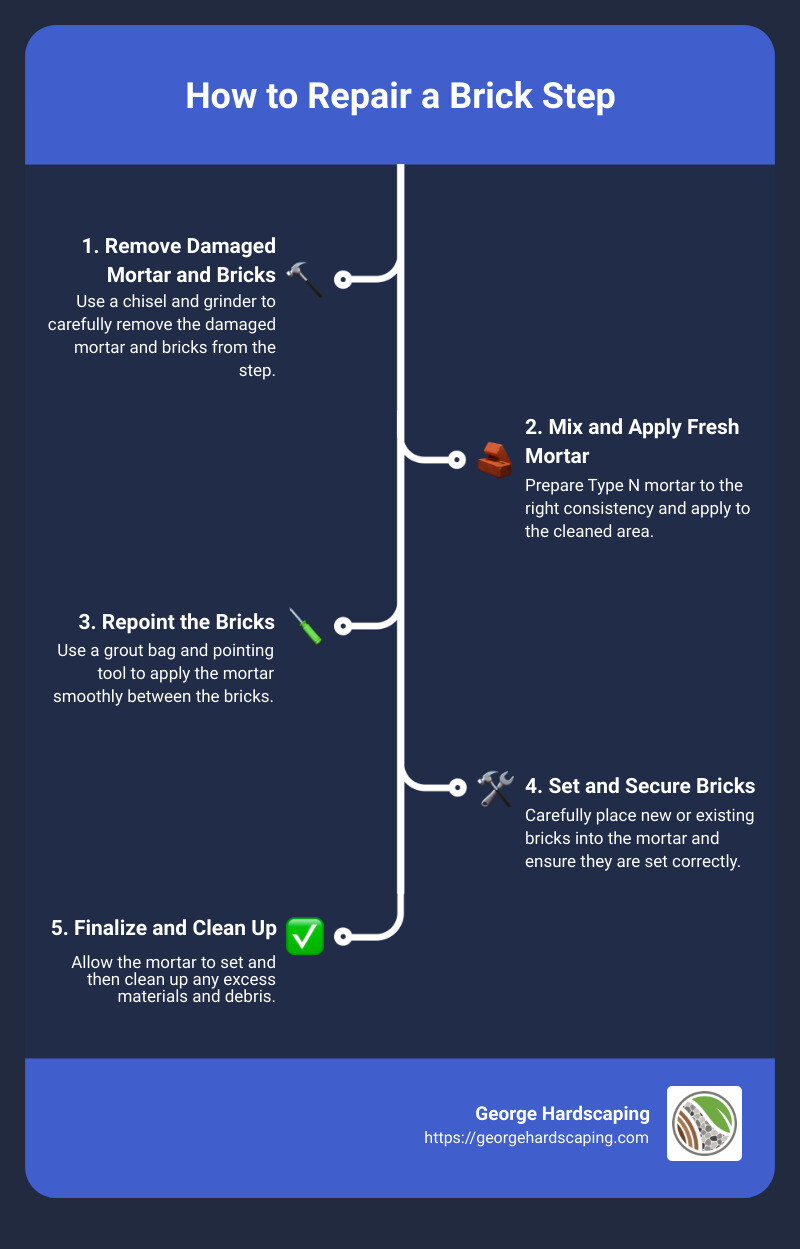
How to repair a brick step:
- Remove damaged mortar and bricks
- Mix and apply fresh mortar
- Repoint the bricks
- Set and secure new or existing bricks
Brick steps are not just practical; they enhance your home’s curb appeal. However, over time, they can crack, crumble, or even become dangerous due to repeated exposure to the elements. This isn’t just about aesthetics—damaged bricks can be a safety hazard, risking falls and injuries.
Repairing your brick steps helps maintain the structural stability and beauty of your property. It’s essential for keeping your home safe and looking its best. It’s a straightforward process, but attention to detail and safety considerations are crucial.
Before diving into repairs, always wear protective gear such as gloves and safety glasses. And remember, if the damage is extensive, consulting a professional like George Hardscaping can save time and ensure the job is done right.
Assessing the Damage to Your Brick Steps
Before you can repair a brick step, you need to know the extent of the damage. Assessing the damage is the first step to understanding what needs fixing and how to proceed.
Visual Inspection
Start with a thorough visual inspection. Walk around your brick steps and look for any obvious signs of wear and tear. Key indicators of damage include:
- Cracks in the bricks or mortar
- Loose or missing bricks
- Spalling bricks, which means the surface is flaking off
- Crumbling mortar between the bricks
Use a flashlight to inspect less obvious areas, especially if your steps are in a shaded location.
Identifying Issues
Next, identify the specific issues. This will help you determine whether you need to replace individual bricks, repoint the mortar, or both.
- Cracked Bricks: Look for hairline cracks or larger fractures. These can be caused by water infiltration and freezing.
- Loose Bricks: Try gently wiggling each brick. If it moves, it needs to be reset.
- Spalling Bricks: Check for bricks that are flaking or breaking apart. This usually indicates water damage.
- Crumbling Mortar: Examine the mortar joints. If they are crumbling or missing, repointing is necessary.
Types of Damage
Understanding the types of damage will guide you in selecting the right repair method.
- Surface Cracks: These are usually minor and can often be filled with mortar or sealant.
- Deep Cracks: These may indicate structural issues and might require replacing the entire brick.
- Loose Bricks: Typically, these can be reset with fresh mortar.
- Missing Bricks: New bricks need to be inserted and mortared into place.
- Crumbling Mortar: Requires removing the old mortar to a depth of ¾ inch and repointing with new mortar.

Example: In a case study from Hampton Roads, bricks on a homeowner’s front steps were found to be spalling due to repeated freeze-thaw cycles. The damaged bricks were replaced, and the mortar was repointed to restore the steps to their original condition.
By carefully assessing the damage, you’ll have a clear idea of the scope of work required. This preparation ensures that your repair efforts are effective and long-lasting.
Next, we’ll dive into the actual repair process, starting with the tools you’ll need and how to prepare your workspace.
How to Repair a Brick Step
Removing Damaged Bricks and Mortar
Tools Needed:
- Safety glasses
- Chisel
- Grinder
- HEPA filter shop vac or regular shop vac
- Respirator mask
Preparation:
Before you start, make sure you have all the necessary tools and safety gear. Wear safety glasses and a respirator mask to protect yourself from dust and debris. Use a grinder to remove the old mortar to a depth of three-quarters of an inch. Start with the horizontal joints, then move to the vertical ones. If you don’t have a grinder with a vacuum attachment, a regular shop vac will do the job, but be prepared for a lot of dust.
Choosing and Mixing the Right Mortar
Type N Mortar:
For brick steps, Type N mortar is recommended because it’s more flexible and can handle the regular pressure of foot traffic and freeze/thaw cycles. Avoid additives that claim to make your mortar stronger; properly mixed mortar should be solid and stable on its own.
Consistency:
When mixing the mortar, make it wetter than usual. This helps it squeeze through the grout bag more easily. Add water gradually—it’s easier to add more water than to remove it.
Repointing Brick Steps
Tools Needed:
- Grout bag
- Pointing tool
Technique:
Once your mortar is ready, fill your grout bag halfway and twist it closed. Use it like a large pastry bag to pipe the mortar into the joints. Use a pointing tool to press the mortar into the joints, ensuring they are full. Then, use a flat jointer tool to slick the joint, making sure it is waterproof and sealed. Lightly brush off any excess mortar with a wire brush to clean the exterior brick.
Replacing Loose or Missing Bricks
Brick Selection:
Choose bricks that match the existing ones in size, color, and texture. This ensures a seamless repair.
Mortar Application:
Chisel away the old mortar to clean the area. Use a wire brush and shop vac to keep the area clear. Apply a half-inch layer of fresh mortar to the space and a thin layer to the replacement brick.
Setting Bricks:
Carefully place the replacement brick into the opening and press it into the mortar. Use your trowel to pack mortar into the spaces around the brick until it is flush. Wet the area thoroughly with a garden hose and let the mortar dry completely, which can take up to a week. Avoid putting any pressure on the brick until the mortar is fully dry. Periodically soak the area to help maintain adhesion.
With these steps, you’ll be well on your way to repairing your brick steps effectively. Up next, we’ll discuss how to prevent future damage to ensure your brick steps remain in good condition for years to come.
Preventing Future Damage to Brick Steps
Repairing brick steps is essential, but preventing future damage is equally important. Here’s how to keep your steps in top shape:
Sealing
Sealing your brick steps is a smart way to protect them from water damage. Water can seep into small cracks, freeze, and cause the bricks to expand and crack further.
- Apply a quality brick sealant: Choose a breathable sealant that repels water but allows moisture to escape. This prevents trapped moisture, which can cause damage.
- Reapply regularly: Sealants wear off over time. Plan to reapply every few years or as recommended by the product instructions.
Proper Drainage
Water pooling around your brick steps is a major cause of damage. Ensuring proper drainage can prevent many issues.
- Check slope and grading: Make sure the ground around your steps slopes away from them. This directs water away and prevents pooling.
- Install drainage solutions: If necessary, add drainage systems like French drains or downspout extensions to channel water away from the steps.
Regular Maintenance
Regular maintenance can catch small problems before they become big ones.
- Inspect frequently: Look for signs of wear, such as cracks or loose bricks, at least twice a year.
- Clean your steps: Remove dirt and debris that can hold moisture against the bricks. Use a stiff brush and mild detergent for cleaning.
- Repair promptly: Fix minor issues as soon as you notice them. This prevents small problems from escalating into major repairs.
By following these steps, you can ensure your brick steps remain sturdy and beautiful for years to come. Next, we’ll answer some common questions about brick step repair.
Frequently Asked Questions about Brick Step Repair
Can brick steps be repaired?
Yes, brick steps can be repaired. The key is to assess the extent of the damage first. If you have loose, cracked, or missing bricks, these can generally be replaced. If the mortar joints are crumbling, repointing (replacing the old mortar with new) is the solution. However, if the structural integrity of the entire step is compromised, it might be more economical to replace the whole structure.
What is the best mortar for repairing brick steps?
For repairing brick steps, Type N mortar is often recommended. This type of mortar is flexible enough to handle the regular pressure of people using the steps and can withstand freeze/thaw cycles, which is crucial for outdoor structures. Avoid additives claiming extra strength; properly mixed mortar should be stable and solid on its own.
How to fix sinking brick steps?
Fixing sinking brick steps involves several steps:
- Assess the cause: Determine why the steps are sinking. It could be due to poor drainage or a weak foundation.
- Lift the steps: Use a hydraulic jack to gently lift the steps back to their original position.
- Reinforce the foundation: Add a solid base of gravel or concrete to prevent future sinking.
- Re-lay the bricks: Once the foundation is secure, re-lay the bricks with fresh mortar.
Regular maintenance and proper drainage can prevent future issues with sinking steps.
By addressing these common questions, you can better understand how to repair a brick step effectively and maintain its condition over time.
Conclusion
Repairing your brick steps can significantly extend their lifespan and enhance your home’s curb appeal. By addressing issues such as crumbling mortar, loose bricks, and structural instability, you ensure that your steps remain safe and functional for years to come.
Longevity of Repairs
When you use the right materials and techniques, your brick step repairs can last decades. Properly mixed Type N mortar, for instance, is designed to handle the regular pressure of foot traffic and the freeze-thaw cycles that can damage lesser mortars. Regular maintenance, such as sealing and ensuring proper drainage, also plays a crucial role in extending the life of your repairs.
Aesthetics
Beyond functionality, well-maintained brick steps add a timeless beauty to your property. The meticulous process of repointing and replacing bricks ensures that your steps look as good as new. The improved aesthetic appeal can also increase your property’s value, making it a worthwhile investment.
George Hardscaping
At George Hardscaping, we specialize in crafting and repairing brick steps with precision and care. Our team of experienced masons ensures every detail is perfect, from the alignment to the finishing touches. If you’re looking for expert help to repair or install brick steps, contact George Hardscaping today for a free estimate.
By following our guide and leveraging our expertise, you can ensure your brick steps remain a beautiful and lasting feature of your home.
