How to Lay Stone Steps on Slope: Top 10 Easy Tips
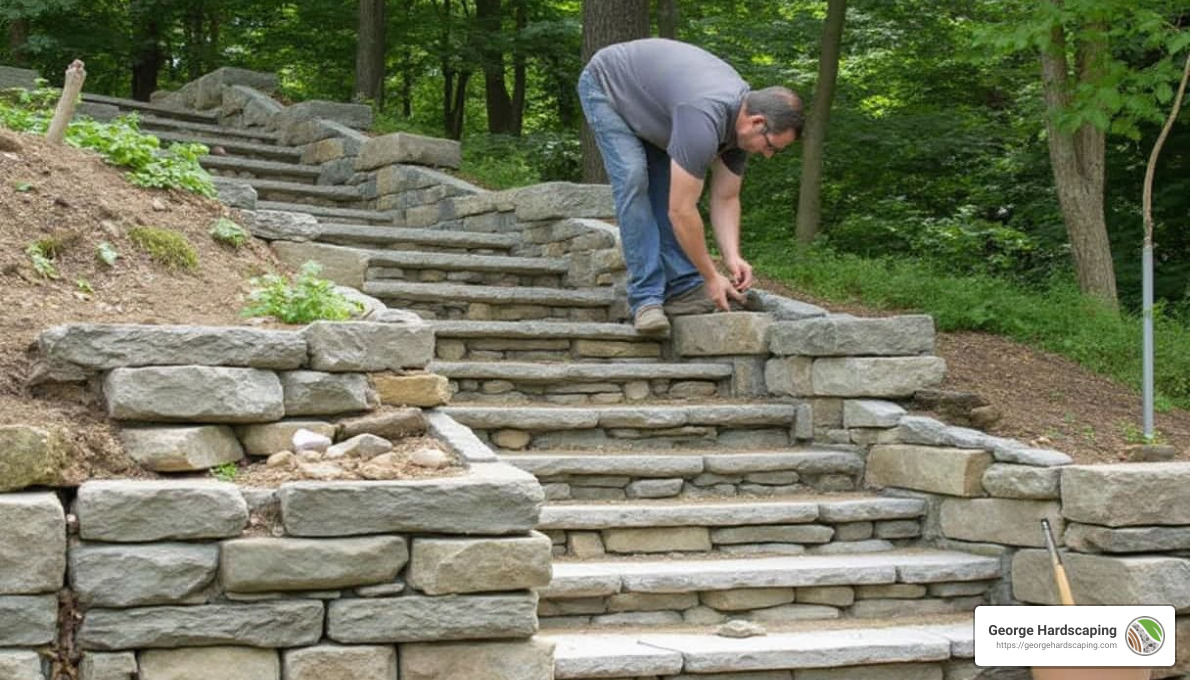
How to lay stone steps on slope can transform a tricky hillside into a stunning and functional landscape feature. Not only does it add to the aesthetic appeal of your property, but it also provides a practical solution to steer steep areas easily. Whether you’re trying to prevent soil erosion or seamlessly connect different parts of your outdoor space, stone steps can offer a robust and long-lasting answer.
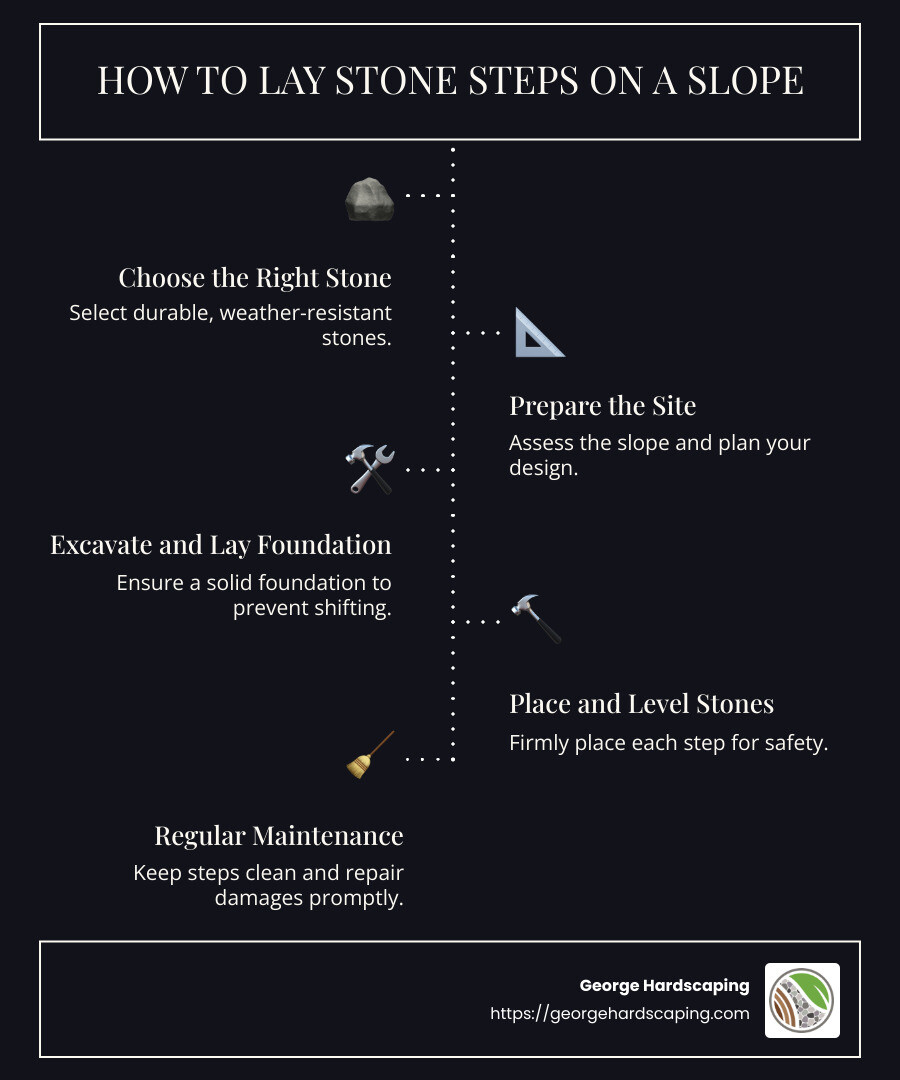
- Choose the right stone: Opt for durable and weather-resistant materials.
- Prepare the site: Assess the slope and plan your design.
- Excavate and lay a solid foundation: This prevents shifting and ensures stability.
- Place and level the stones: Each step should be firmly placed for safety.
- Regular maintenance: Keep your steps clean and repair any damages promptly.
Creating stone steps on a slope is not just about solving a problem; it’s about elevating your landscape’s visual interest. With the right planning and thoughtful execution, these steps can become a standout feature in your garden, inviting guests to explore your outdoor spaces comfortably. As you start on this project, details like the choice of stone, the alignment of each step, and the harmony with your existing garden elements will make all the difference.
Planning Your Stone Steps
Planning is the cornerstone of any successful project, and laying stone steps on a slope is no exception. A well-thought-out plan ensures that your steps are both beautiful and functional. Let’s walk through the essential steps in the planning phase: site assessment, slope measurement, and design considerations.
Site Assessment
Start with a thorough site assessment. This involves examining the terrain where you plan to install the stone steps. Look for any obstacles like large rocks, tree roots, or existing structures that might impact your project. Pay attention to the soil type as well; sandy soil might require different preparations compared to clay.
Consider the surrounding landscape. Your stone steps should blend naturally with your outdoor environment. This not only improves the aesthetic appeal but also ensures that the steps complement the existing features of your garden or yard.
Slope Measurement
Accurate slope measurement is crucial. Begin by determining the rise (vertical distance) and run (horizontal distance) of the slope. Use a simple leveling tool or a string line with a line level to measure these distances.
For example, if your slope rises by 4 feet over a 10-foot horizontal span, the slope ratio is 4:10 or 1:2.5. This ratio helps in deciding the number of steps and their height.
Pro Tip: Consider the natural drainage of the slope. Proper drainage planning prevents water accumulation, which can undermine your steps over time.
Design Considerations
Designing your stone steps involves more than just aesthetics. Think about the functionality and safety as well. Here are a few key considerations:
- Step Dimensions: Standard steps are about 6 inches high and 12 inches deep. However, you might need to adjust these dimensions based on your slope measurements and personal preferences.
- Stone Type: Choose stones that match your landscape and are durable enough to withstand weather conditions. Options include granite, limestone, and sandstone.
- Integration with the Landscape: Ensure that your steps align with existing pathways or patios. This creates a seamless transition and improves usability.
- Safety Features: Consider adding handrails or lighting if the steps are steep or will be used frequently at night.
By carefully assessing your site, measuring the slope accurately, and considering all design elements, you set the stage for a successful stone step installation. This groundwork will ensure your steps not only meet practical needs but also add a touch of elegance to your landscape.

Next, let’s move on to the materials and tools you’ll need to bring your stone step vision to life.
Materials and Tools Needed
Before you start laying stone steps on a slope, gathering the right materials and tools is essential. This ensures a smooth process and a durable, attractive result.
Stone Types
Choosing the right stone is crucial for both aesthetics and durability. Here are some popular options:
- Granite: Known for its toughness and resistance to weathering. It’s a great choice if you want long-lasting steps.
- Limestone: Offers a softer, more natural look. It’s easier to shape, making it versatile for various designs.
- Sandstone: Provides a rustic appearance and blends well with natural surroundings. It’s suitable for lighter traffic areas.
Tip: Match the stone type with your landscape for a cohesive look.
Tools List
Having the right tools on hand makes the job easier and more efficient. Here’s a list of essential tools you’ll need:
- Shovel and Spade: For digging and moving soil.
- Level: Ensures each step is even and aligned.
- Tape Measure: For accurate measurements of rise and run.
- Mason’s Hammer and Chisel: To shape and fit stones precisely.
- Wheelbarrow: Useful for transporting heavy materials like stones and gravel.
- Tamper: Helps compact the base layer for stability.
Pro Tip: Invest in quality tools to make your work easier and more precise.
Safety Gear
Safety should always be a priority when working on outdoor projects. Here’s what you need to stay safe:
- Gloves: Protect your hands from sharp edges and rough surfaces.
- Safety Glasses: Shield your eyes from dust and stone chips.
- Steel-Toed Boots: Offer protection in case heavy stones are dropped.
- Dust Mask: Prevents inhalation of dust particles when cutting or shaping stones.
Remember: Wearing the right gear can prevent accidents and injuries.
With the right materials, tools, and safety gear ready, you’re well-prepared to start building your stone steps. This preparation sets the foundation for a successful project, ensuring your steps are not only functional but also improve the beauty of your landscape.
Next, we’ll dig into the step-by-step process of laying your stone steps, from preparation to leveling.
How to Lay Stone Steps on a Slope
Laying stone steps on a slope requires careful planning and execution. Here’s a straightforward guide to help you through the process, ensuring your steps are stable and visually appealing.
Preparation
Start by preparing the site. Clear the area of debris, plants, and any loose soil. This ensures a clean workspace and helps prevent future instability.
- Measure the Slope: Determine the total rise (vertical distance) and run (horizontal distance). This helps in deciding the number of steps and their dimensions.
- Mark the Layout: Use stakes and string to outline where each step will be placed. This acts as a visual guide and keeps your steps aligned.
Excavation
Excavation is crucial for creating a solid foundation. Dig into the slope where each step will sit, ensuring the depth accommodates both the base layer and the stone.
- Digging Depth: Typically, you’ll need to excavate about 6 to 8 inches deep for each step. This allows room for a compacted base and the stone itself.
- Step Spacing: Ensure each step is evenly spaced. A common rise (height) for steps is 6 to 8 inches, while the run (depth) should be around 12 to 18 inches.
Base Layer
A strong base layer is essential for stability. It prevents shifting and settling over time.
- Gravel Foundation: Fill the excavated areas with a 4-inch layer of crushed gravel. Use a tamper to compact it firmly. This layer provides drainage and support.
- Leveling: Use a level to ensure the gravel surface is even. This prevents uneven steps and potential tripping hazards.
Stone Placement
Once the base is ready, it’s time to place the stones.
- Position the Stones: Start from the bottom and work your way up. Position each stone carefully, ensuring it sits flat and stable.
- Check Alignment: Use a level to check that each stone is even. Adjust the gravel base as needed to maintain a level surface.
- Secure Each Stone: For added stability, use a bit of mortar or construction adhesive between stones. This helps hold them in place, especially on steeper slopes.
Leveling
The final step is to ensure everything is level and secure.
- Final Adjustments: Double-check each stone with a level. Make minor adjustments by adding or removing gravel under the stones.
- Test Stability: Walk on the steps to ensure they feel secure and don’t wobble. Adjust as necessary for a solid, safe path.
With these steps, your stone steps on a slope will be both functional and aesthetically pleasing. This careful approach ensures your hard work results in a durable and attractive addition to your landscape.
Now that you have a solid understanding of how to lay stone steps on a slope, let’s move on to a detailed step-by-step guide to building them.
Step-by-Step Guide to Building Stone Steps
Building stone steps on a slope can be a rewarding project that adds both beauty and functionality to your outdoor space. Let’s break it down into simple steps:
Step-by-Step Instructions
- Gather Your Materials and Tools
- Choose durable stones that complement your landscape.
- Gather tools like a shovel, tamper, level, and a wheelbarrow.
- Don’t forget safety gear: gloves, goggles, and sturdy boots.
- Prepare the Site
- Clear the area of any debris and vegetation.
- Mark the layout using stakes and string. This helps keep your steps aligned.
- Excavate for Each Step
- Start at the bottom of the slope. Dig out an area for the first step, about 6 to 8 inches deep.
- Ensure the space is wide enough for both the base layer and the stone.
- Lay the Base Layer
- Fill the excavated area with a 4-inch layer of crushed gravel.
- Compact it firmly with a tamper to create a stable foundation.
- Use a level to check that the gravel is even.
- Place the Stones
- Position the first stone on the compacted gravel, ensuring it sits flat and stable.
- Continue placing stones, working your way up the slope.
- Check each stone with a level to ensure evenness. Adjust the gravel base as needed.
- Secure the Stones
- For added stability, apply mortar or construction adhesive between stones, especially on steeper slopes.
- This helps hold them in place and prevents shifting.
- Finish and Test
- Double-check the alignment and level of each stone.
- Walk on the steps to ensure they feel secure and don’t wobble.
- Make any final adjustments for a safe and solid path.
Tips for Success
- Consistency is Key: Keep the rise and run of each step consistent to avoid tripping hazards.
- Plan for Drainage: Ensure the slope allows water to drain away from the steps to prevent erosion.
- Take Your Time: Rushing can lead to mistakes. Take your time to ensure each step is properly placed and secure.
Common Mistakes to Avoid
- Skipping the Base Layer: A solid base is crucial for stability. Don’t skip this step.
- Ignoring the Slope’s Natural Grade: Work with the natural slope to avoid excessive excavation.
- Uneven Stones: Make sure each stone is level to prevent accidents and ensure a polished look.
By following these steps and tips, you’ll create a beautiful and durable set of stone steps that improve your landscape. Now that you know the process, let’s address some frequently asked questions about laying stone steps.
Frequently Asked Questions about Laying Stone Steps
How do I choose the right stone?
Choosing the right stone is crucial for both the durability and aesthetics of your steps. Here are some tips:
- Durability: Select stones that can withstand the local climate and foot traffic. Granite and bluestone are popular choices due to their strength and long-lasting nature. They handle weather changes well, maintaining their natural color over time.
- Aesthetics: Consider the overall look of your landscape. Neutral tones like grays and browns tend to blend well with most surroundings, but bolder colors can make a statement.
What is the best way to ensure stability?
Ensuring stability is key to safe and long-lasting steps. Focus on these areas:
- Foundation: A solid base layer is essential. Use crushed gravel to create a stable foundation, and compact it well.
- Drainage: Proper drainage prevents water accumulation that can lead to erosion. Ensure the slope allows water to flow away from the steps. This will help maintain the integrity of your steps over time.
- Stability Tips: Use mortar or construction adhesive between stones on steeper slopes to prevent shifting. This is especially important for slopes with a high incline.
How can I maintain my stone steps?
Regular maintenance keeps your stone steps looking great and functioning well:
- Cleaning: Use a pressure washer or a stiff brush with water to clean your steps. This removes dirt and prevents moss from making the stones slippery.
- Repairs: Check regularly for any loose stones or mortar. Promptly fix any issues to prevent further damage.
- Maintenance Tips: In winter, use a plastic shovel to clear snow and avoid using salt, which can erode the stone. Instead, opt for sand to provide traction.
By following these guidelines, you can ensure your stone steps are not only beautiful but also safe and durable for years to come.
Conclusion
At George Hardscaping, we believe that crafting beautiful and durable stone steps is both an art and a science. Our team is committed to delivering best craftsmanship and quality to every project, ensuring that your outdoor spaces are as functional as they are stunning.
Serving the North Shore and Essex County, MA, we pride ourselves on enhancing the aesthetic appeal and usability of your landscape. Our expertise in masonry and hardscaping allows us to transform your property with precision and care. Whether you’re looking to create a grand entrance or simply improve accessibility, our stone steps are designed to meet your needs and exceed your expectations.
We understand that every landscape is unique, and we tailor our approach to fit the specific characteristics of your property. From planning and material selection to installation and maintenance, we guide you through each step of the process, ensuring a seamless and satisfying experience.
If you’re ready to lift your outdoor space with expertly crafted stone steps, contact us today. Let us bring your vision to life with our dedication to quality and service.
Find how we can help you with your next project. Experience the George Hardscaping difference and see why we are the trusted choice for homeowners in the North Shore and beyond.