How to Repoint Brick Steps: Top 6 Expert Tips (2024)
Importance of Repointing Your Brick Steps
If you’re wondering how to repoint brick steps, you’re in the right place. Repointing is the process of renewing the outer portion of mortar joints in brickwork. This essential maintenance task can save your steps from further deterioration, keeping them safe and visually appealing.
Here’s a quick overview on how to repoint brick steps:
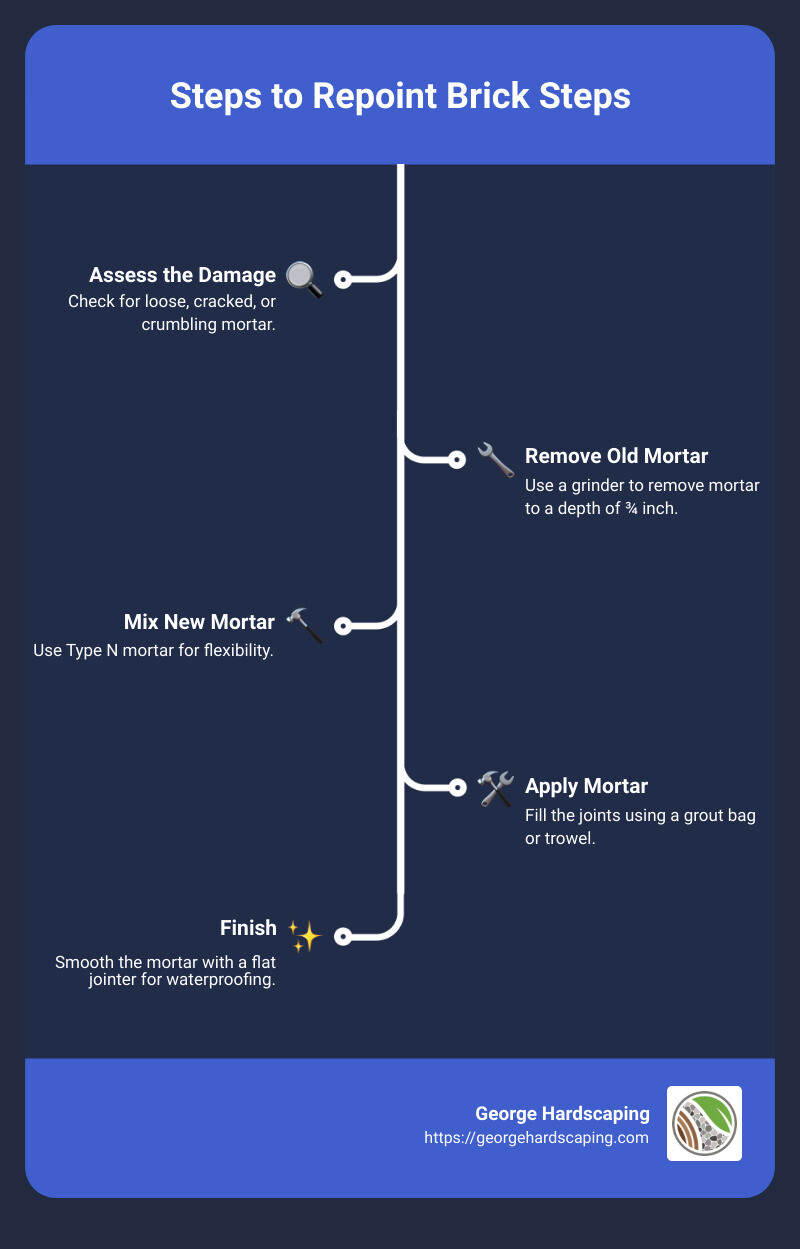
- Assess the Damage: Check for loose, cracked, or crumbling mortar.
- Remove Old Mortar: Use a grinder to remove mortar to a depth of ¾ inch.
- Mix New Mortar: Use Type N mortar for flexibility.
- Apply Mortar: Fill the joints using a grout bag or trowel.
- Finish: Smooth the mortar with a flat jointer for waterproofing.
Repointing your brick steps is crucial for several reasons:
1. Structural Integrity: Damaged mortar can lead to loose bricks, creating safety hazards.
2. Aesthetic Appeal: Freshly repointed bricks enhance the look of your property.
3. Property Value: Well-maintained brickwork can increase your home’s curb appeal and market value.
Maintaining your brick steps ensures they remain safe and attractive—a small effort that really pays off.
Understanding Brick Repointing
Definition
Repointing is the process of renewing the external part of mortar joints in masonry construction. Over time, mortar can degrade due to weather and wear. Repointing involves carefully removing the old, damaged mortar and replacing it with new mortar to restore the masonry’s integrity.
Difference Between Tuckpointing and Repointing
While often used interchangeably, tuckpointing and repointing are slightly different. Repointing focuses solely on removing and replacing old mortar. Tuckpointing, on the other hand, involves adding a thin line of contrasting mortar to create the illusion of fine joints. This extra step makes tuckpointing more aesthetically pleasing but also more complex and costly.
Importance for Brick Steps
Brick steps face constant foot traffic and weather exposure, making them prone to mortar deterioration. Repointing is particularly crucial for several reasons:
- Structural Safety: Loose or missing mortar can lead to unstable steps, posing a tripping hazard.
- Aesthetic Value: Fresh mortar enhances the look of your steps, making your home more inviting.
- Longevity: Properly repointed steps resist weather damage better, extending their lifespan.
Repointing ensures that your brick steps remain both safe and beautiful, protecting your investment for years to come.

By understanding the basics of repointing, you’re better prepared to tackle this essential maintenance task. Next, we’ll dive into the step-by-step process of how to repoint brick steps.
Preparing to Repoint Your Brick Steps
Before you start repointing, proper preparation is crucial. This section covers safety measures, tools needed, and selecting the right mortar.
Safety Measures
Safety should always come first. Here are some key precautions:
- Wear Safety Glasses: Protect your eyes from dust and debris.
- Use a Respirator Mask: Avoid inhaling harmful dust, especially when grinding old mortar.
- Gloves and Knee Pads: Protect your hands and knees during prolonged work sessions.
- Work in a Well-Ventilated Area: Ensure good airflow to minimize dust accumulation.
Tools Needed
Having the right tools makes the job easier and more efficient. Here’s a list of essentials:
- Grinder: For removing old mortar. A masonry grinder with a vacuum attachment is ideal.
- HEPA Filter Shop Vac: To minimize dust.
- Mortar Bag: Similar to a pastry bag, used for applying new mortar.
- Trowel and Pointing Tool: For pressing mortar into joints.
- Chisel and Hammer: To remove stubborn old mortar.
- Wire Brush: For cleaning joints.
- Water Hose: To keep the area clean and wet.
Selecting the Right Mortar
Choosing the correct mortar is vital for durability and flexibility. Here’s what to consider:
- Type N Mortar: Flexible and ideal for steps that endure regular foot traffic and freeze-thaw cycles.
- Type S Mortar: Stronger and used for structural applications but less flexible.
Tip: Avoid additives that claim to strengthen mortar. Properly mixed mortar should be solid and stable without them.
Mixing Mortar: Make the mortar wetter than usual for easier application with the grout bag. Add water gradually—you can always add more, but you can’t take it away.
By preparing properly, you set yourself up for a successful repointing job. Now, let’s move on to the detailed steps of how to repoint brick steps.
How to Repoint Brick Steps
Step 1: Assessing the Damage
Before you start, inspect your brick steps carefully. Look for areas where the mortar is cracked, crumbling, or missing altogether. These are the spots that need your attention.
Tip: Use a small hammer or chisel to gently tap the mortar. If it crumbles easily, it’s time to replace it.
Step 2: Removing Old Mortar
Use a grinder to cut out the old mortar to a depth of ¾ inch. Begin with the horizontal joints first, then move to the vertical ones. This method helps create a pocket and prevents the blade from hitting the brick.
Tools Needed:
– Grinder with a vacuum attachment
– HEPA vac to keep down the dust
– Respirator mask for safety
Step 3: Choosing the Right Mortar
For brick steps, Type N mortar is ideal. It offers the right balance of strength and flexibility, allowing the bricks to expand and contract with temperature changes.
Avoid: Type S mortar, which is too stiff and can cause hairline cracks over time.
Step 4: Mixing the Mortar
Mix the mortar using Quikrete Type N Mortar Mix. Aim for a wetter consistency to make it easier to squeeze through the grout bag.
Techniques:
– Add water gradually to control the consistency.
– The mortar should be wet enough to flow easily but not so wet that it loses its shape.
Step 5: Applying the Mortar
Load the mixed mortar into a grout bag, filling it about halfway. Twist the open end closed and squeeze the mortar into the joints, similar to icing a cake.
Technique:
– Squeeze mortar into the joint, filling it completely.
– Use a pointing trowel to press the mortar into the joints for a snug fit.
Step 6: Finishing Touches
After filling the joints, use a flat jointer to smooth the mortar. This step ensures the joints are sealed and weatherproof.
Additional Steps:
– Lightly brush off excess mortar from the bricks.
– Run the flat jointer over the mortar one last time to slick the joint.
Expert Tip: Avoid water-sealing the steps. Sealing can cause water to stay on the surface, making it slippery and dangerous, especially in winter.
By following these steps, you can effectively repoint your brick steps, ensuring they remain sturdy and weather-resistant. Next, we’ll discuss common mistakes and how to avoid them.
Common Mistakes and How to Avoid Them
Wrong Mortar Mix
Using the wrong type of mortar is a common mistake. Type S mortar is rigid and strong, suitable for structural applications. However, for brick steps, Type N mortar is better. It’s more flexible, accommodating the natural movement of steps and handling freeze-thaw cycles better.
Avoid This Mistake: Always check the mortar type before starting. Type N mortar is ideal for repointing brick steps because it balances strength and flexibility.
Rushing the Process
Repointing brick steps requires patience. Rushing can lead to poor adhesion and weak joints. This can cause the mortar to crack and deteriorate quickly, undoing all your hard work.
Avoid This Mistake: Take your time. Ensure each step is done correctly, especially when removing old mortar and applying new mortar. Let the mortar dry completely before putting any pressure on the steps.
Ignoring Weather Conditions
Weather plays a crucial role in repointing. If it’s too cold, the mortar won’t set properly. If it’s too hot, the mortar can dry out too quickly, leading to weak joints.
Avoid This Mistake: Aim to repoint when the temperature is between 40 and 90 degrees Fahrenheit. This ensures the mortar sets correctly. If you must work in less-than-ideal conditions, take extra precautions to keep the mortar at the right temperature.
By avoiding these common mistakes, your brick steps will be sturdy and long-lasting. Next, we’ll answer some frequently asked questions about repointing brick steps.
Frequently Asked Questions about Repointing Brick Steps
Can I repoint brick steps myself?
Yes, you can repoint brick steps yourself, but it requires patience and the right tools. Here’s what you’ll need:
- Safety glasses
- A trowel
- A tuckpointing tool
- A chisel
- Mortar mix
- Replacement bricks
The process involves removing old mortar, mixing new mortar, and carefully applying it. If you’re comfortable with DIY projects and follow the steps closely, you can save money by doing it yourself. However, if the damage is extensive or if you’re unsure, hiring a professional might be the best choice.
How much does it cost to repoint brick steps?
The cost of repointing brick steps can vary. Factors include the extent of damage, accessibility of the area, and labor rates. On average, homeowners might spend between $5 to $25 per square foot.
For a detailed estimate, it’s best to get quotes from several contractors. While doing it yourself can save on labor costs, it also requires time and effort to ensure the job is done correctly.
Can you put new mortar over old mortar?
No, you should not put new mortar over old mortar. The old, crumbling mortar needs to be removed to a depth of three-quarters of an inch before applying new mortar. This ensures the new mortar adheres properly and creates a strong, durable bond.
Skipping this step can lead to weak joints and more repairs down the line. Always take the time to remove the old mortar thoroughly before adding new mortar for the best results.
Conclusion
Repointing brick steps is a crucial maintenance task that can greatly enhance the appearance and structural integrity of your property. While it might be tempting to tackle this project on your own, there are significant benefits to hiring professionals for the job.
Benefits of Professional Repointing
- Expertise and Precision: Professional masons have the skills and experience to ensure each step is done correctly. From removing old mortar to applying new mortar with the right consistency, their precision ensures a durable and aesthetically pleasing result.
- Proper Tools and Materials: Professionals come equipped with the necessary tools, such as masonry grinders and HEPA vacuums, to handle the job efficiently. They also know the right type of mortar to use, whether it’s Type N for flexibility or Type S for rigidity.
- Time and Effort: Repointing is labor-intensive and time-consuming. Hiring experts saves you time and effort, allowing you to focus on other tasks while ensuring the job is done to the highest standards.
- Safety: Working with masonry tools and materials can be hazardous. Professionals adhere to safety protocols, minimizing risks and ensuring a safe work environment.
- Long-Lasting Results: Properly repointed brick steps can last for decades. Professionals ensure that the new mortar bonds well, preventing future issues and saving you money on repairs.
Contact George Hardscaping for Expert Services
At George Hardscaping, we specialize in repointing brick steps and other masonry services. Our team of experienced masons is dedicated to delivering high-quality results that enhance the beauty and functionality of your property.
Ready to give your brick steps a new lease on life? Contact us today for a free estimate and let us handle your masonry needs with expertise and care.
By choosing professional repointing services, you ensure that your brick steps remain safe, durable, and visually appealing for years to come. Trust George Hardscaping to master the art of repointing and transform your outdoor spaces.
