Stone Patio Installation: Top DIY Tips for 2024 Success
Stone patio installation is a fantastic way to transform your outdoor space into a stunning area for relaxation and entertainment. The appeal of a stone patio lies not only in its beauty but also in its durability. With impressive longevity and minimal maintenance requirements, stone patios are perfect for homeowners who want a long-lasting and neat addition to their property.
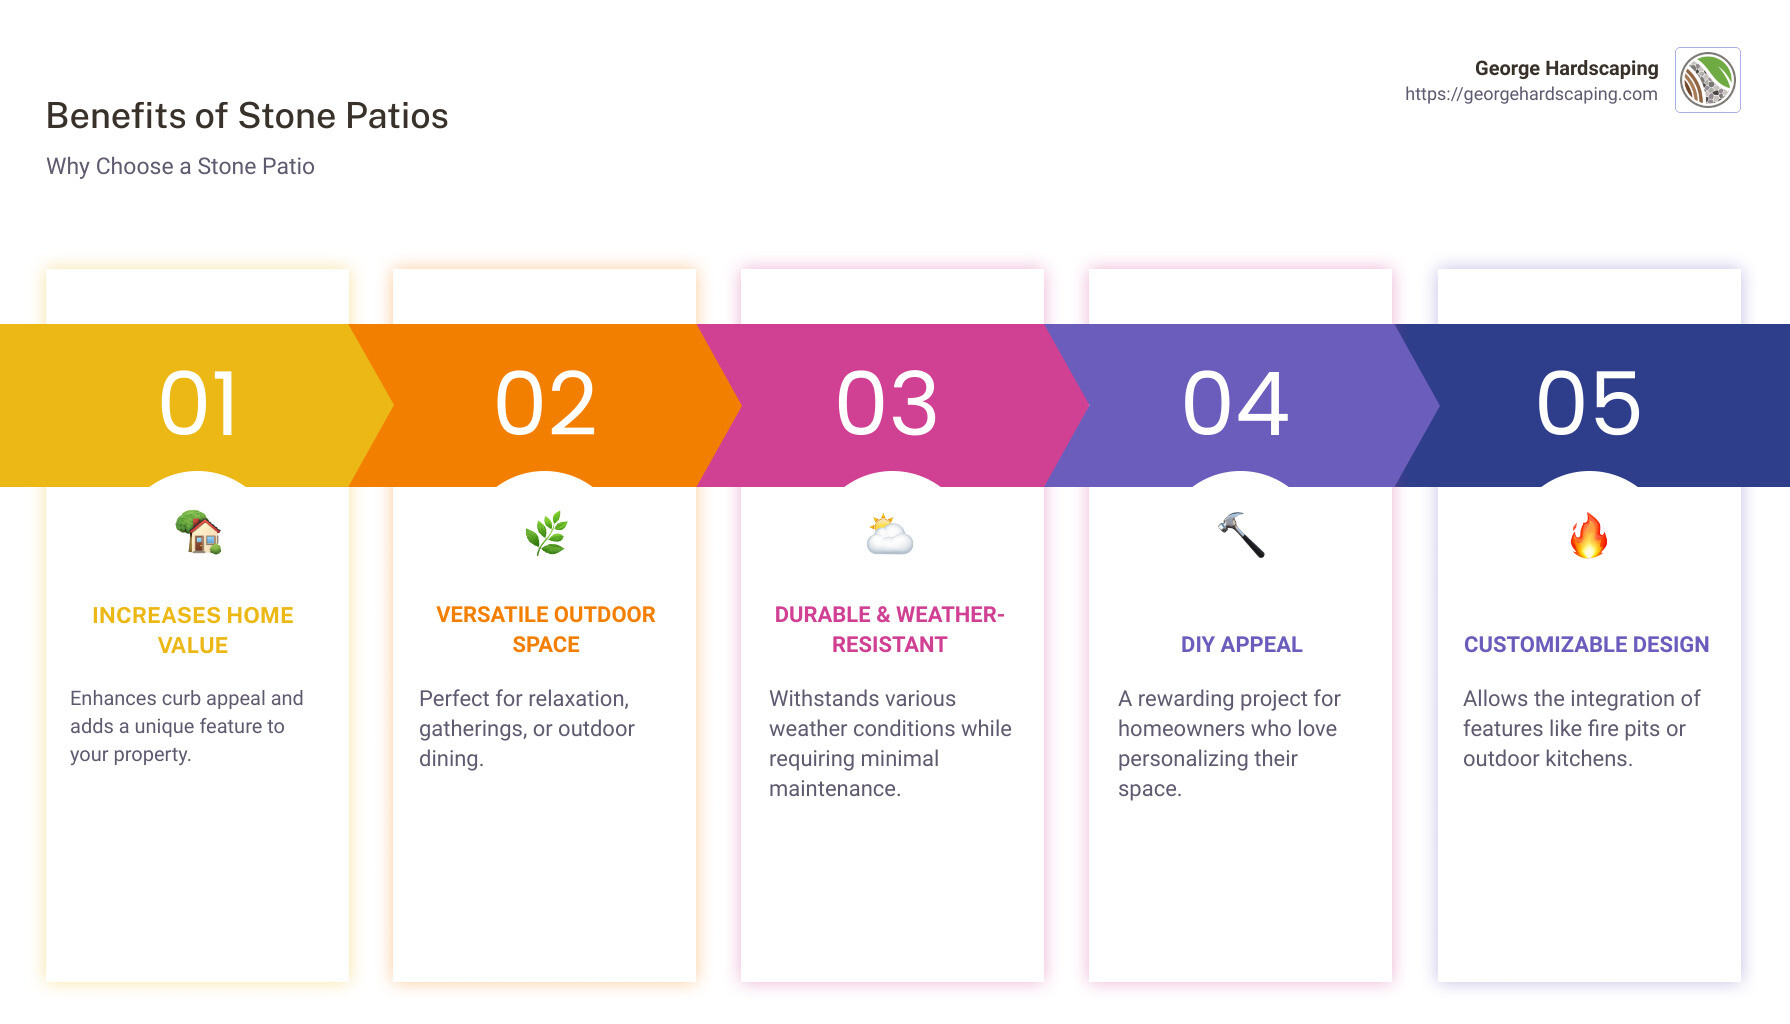
- Benefits of Stone Patios:
- Increases home value
- Offers a versatile outdoor living area
- Durable and weather-resistant
For those with a do-it-yourself spirit, installing a stone patio can be a rewarding project. It allows you to customize your backyard according to your preferences and personalize your outdoor space without the costs associated with hiring professionals. While it requires careful planning and effort, the result is a functional and visually appealing patio that improves your home’s aesthetic and functionality.
Imagine adding a fire pit or an outdoor kitchen to this new space to lift your home entertainment experience. The freedom to do so is one of the many advantages of choosing stone for your outdoor makeover.
Preparing the Ground for Stone Patio Installation
Before you begin your stone patio installation, it’s crucial to prepare the ground properly. This step ensures a stable foundation for your patio. Here’s how to get started:
Remove Grass and Weeds
Start by clearing the area of grass, weeds, and any vegetation. Use a garden spade or a sod cutter for larger areas. Removing these elements prevents them from growing through your patio and disrupting its surface.
Dig Up Rocks
Next, inspect the ground for rocks and debris. These materials can create uneven surfaces and cause stones to shift over time. Dig them out and clear the area thoroughly. This step is essential for creating a smooth base.
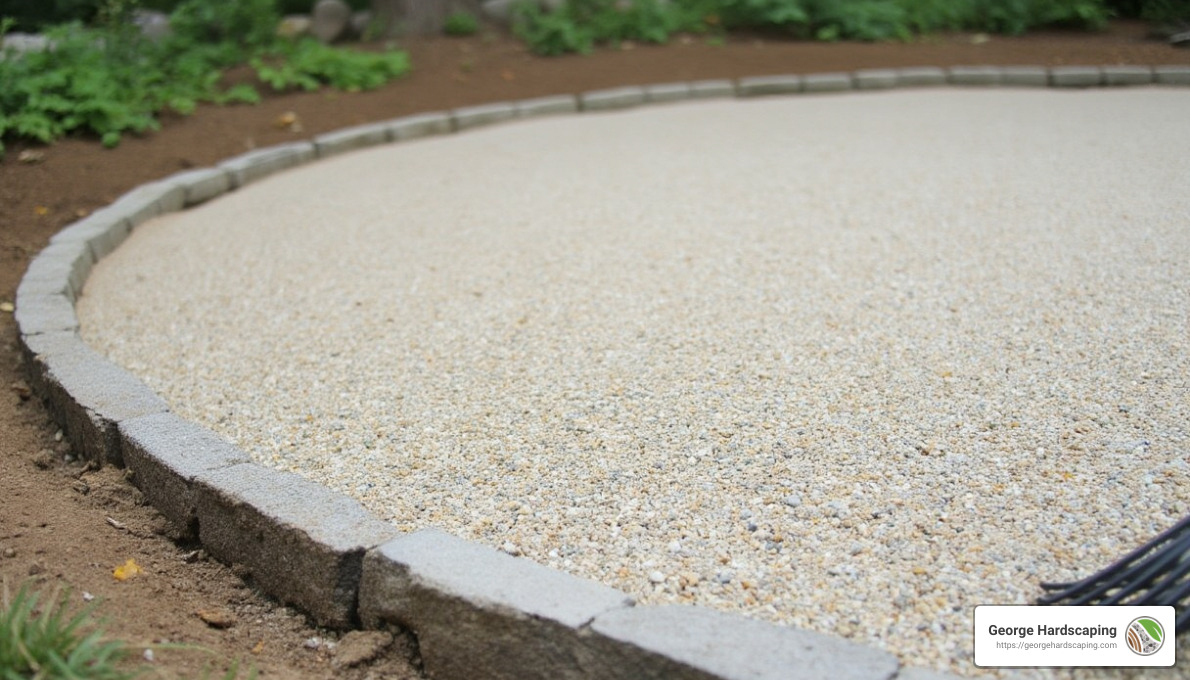
Sand and Gravel Mix
For a stable foundation, you’ll need a mix of sand and gravel. This mixture provides drainage and a firm base for your stones. Spread a 3-inch layer of gravel and compact it using a plate compactor. Follow this with a 1-inch layer of coarse sand to create a smooth surface for laying stones.
Smooth the Surface
After laying the sand and gravel, smooth the surface with a rake. Check for any high or low spots, and adjust as necessary. A level surface ensures your stones sit evenly and securely.
Proper ground preparation is the backbone of a successful stone patio. Taking the time to do it right will pay off in the longevity and beauty of your patio. Now, let’s move on to gathering the essential tools and materials needed for the next steps in your stone patio project.
Essential Tools and Materials for Stone Patio Installation
Before diving into the stone patio installation, gather the right tools and materials. This will make the process smoother and ensure a durable patio. Here’s what you’ll need:
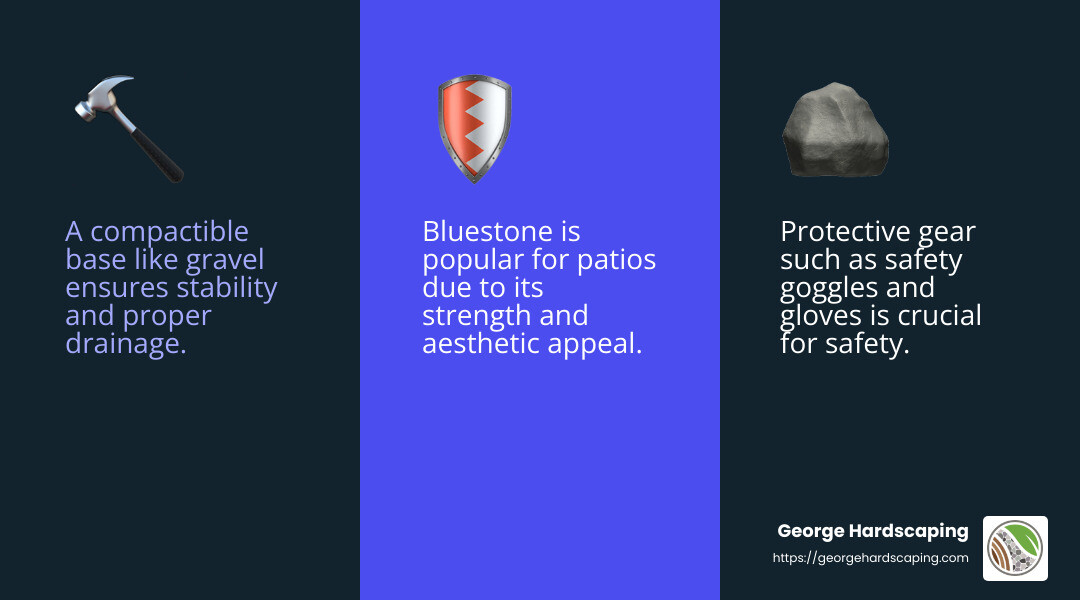
Protective Gear
Safety first! Equip yourself with protective gear to prevent injuries. This includes:
- Safety goggles to shield your eyes from dust and debris.
- Ear protection if using noisy equipment like a masonry saw.
- Dust mask to avoid inhaling particles.
- Gloves for hand protection while handling stones and tools.
Compactible Base Material
A strong base is key to a lasting patio. Use a compactible material like gravel or crushed stone. These materials provide a firm foundation and allow for proper drainage.
- Gravel: Spread a 3-inch layer and compact it well. This prevents shifting and maintains stability.
- Stone dust: Use a layer of stone dust or sand on top of the gravel. This creates a smooth, level surface for the stones.
Sand Bedding
Sand is essential for creating a cushion between the base and the stones. It fills gaps and ensures an even surface.
- Coarse sand: Spread about a 1-inch layer over the compacted base. Use a straight edge to level it.
Paver Stones
Choose the right stones for your patio. Options include bluestone, flagstone, and slate. Each has its unique look and durability.
- Bluestone: A popular choice for its strength and aesthetic appeal. It’s recommended to use stones that are 1 1/2 to 2 inches thick for patios.
When selecting stones, consider your climate and style preferences. Also, factor in the cost and availability of materials in your area.
With these tools and materials ready, you’re well-equipped to start your stone patio project. The right preparation and materials ensure a patio that’s both beautiful and long-lasting. Next, let’s explore the step-by-step process of laying your stones.
Step-by-Step Guide to Stone Patio Installation
Creating a stone patio is a rewarding DIY project. Follow these steps to ensure a successful installation:
Plan Layout
Start by planning the layout of your patio. Sketch a design on graph paper to visualize the final look. Consider the patio’s purpose, sun exposure, and its connection to your home and garden. Measure the area carefully, marking it with stakes and string. This helps identify any obstacles, like trees or utility lines, and ensures you have the right amount of materials.
Solid Base
A solid base is crucial for a stable patio. Begin by excavating the area to a depth of at least 6 inches for mild climates, or 12 inches where the ground freezes. Remove grass, weeds, and rocks. Lay a 3-inch layer of gravel or crushed stone, and compact it well using a plate compactor. This prevents shifting and allows for proper drainage.
Sand Layer
Next, add a sand layer to create a smooth surface. Spread about a 1-inch layer of coarse sand over the compacted base. Use a straight edge to level the sand, ensuring an even foundation for the stones. The sand acts as a cushion and helps fill gaps between the stones.
Lay Pavers
Now, it’s time to lay the pavers. Start at one corner of the patio, placing the stones straight down into the sand. Fit them snugly without dragging across the sand. Use a rubber mallet to gently tap them into place. Continue laying stones, working outward in a triangular pattern, until the entire area is covered.
Fill Joints
Once all stones are in place, fill the joints with sand. Spread a light layer of sand over the patio and use a push broom to sweep it into the gaps between the stones. This locks the stones in place and prevents weeds from growing. Run a plate compactor over the patio to settle the sand and stones. Add more sand as needed, and repeat the process until all joints are filled.
By following these steps, you’ll create a beautiful and durable stone patio. The careful planning and execution ensure a smooth, level surface that improves your outdoor space. Next, let’s explore the cost considerations for your stone patio project.
Cost Considerations for Stone Patio Installation
When planning your stone patio installation, understanding the costs involved is crucial. From materials to labor, here’s what you need to know to budget effectively.
Material Costs
The cost of materials can vary significantly based on the type of stone you choose. On average, you can expect to pay about $5 per square foot for materials. Opting for premium stones like bluestone or flagstone may increase expenses, but they offer unique aesthetics and durability.
Tip: Consider sourcing stones from a local quarry for potentially better prices than large home improvement stores. Also, factor in delivery costs, as stone can be heavy and pricey to transport.
DIY vs. Professional Installation
Choosing between DIY and professional installation is a major decision. DIY installation can save you money on labor, with costs ranging from $500 to $1,500 depending on your tools and paver choice. However, it requires significant time, effort, and skill.
Professional installation, on the other hand, offers expertise and efficiency. The national average cost for professional installation is around $3,800, with prices between $2,400 and $7,000 depending on the project’s complexity and size. While more expensive, hiring professionals can ensure a high-quality finish and save you from potential costly mistakes.
Cost Comparison
Here’s a quick comparison to help you decide:
| Aspect | DIY Installation | Professional Installation |
|---|---|---|
| Cost | $500 – $1,500 | $2,400 – $7,000 |
| Time Investment | High | Low |
| Skill Required | Moderate to High | Low |
| Quality Assurance | Variable | High |
In summary, the stone patio installation cost depends on your choice of materials and whether you opt for DIY or professional help. Weighing these factors will guide you to a decision that balances your budget with your desired outcome. Now, let’s address some common questions about installing a stone patio.
Frequently Asked Questions about Stone Patio Installation
How do you prepare ground for a stone patio?
Preparing the ground for a stone patio installation is all about creating a stable foundation. Start by removing any grass, weeds, or plants from the area. Use a spade or shovel to dig up any rocks and ensure the surface is clear.
Next, you’ll need a sand and gravel mix. This combination creates a compacted base that supports the stone slabs. Dig down to the required depth, typically 6 to 12 inches, depending on your climate and soil conditions. In colder areas where the ground freezes, a deeper base is essential to prevent shifting.
What do you put under patio stones?
Underneath your patio stones, you’ll need a compacted base followed by a layer of sand. The compacted base, usually made of gravel or crushed stone, provides stability and prevents the stones from sinking over time.
On top of this base, add a sand bedding. This layer should be about 1 inch thick and helps to level the stones, making for a smooth, even surface. The sand also fills in the gaps between the stones, locking them in place.
Is a stone patio cheaper than concrete?
When comparing costs, stone patios can be more expensive than concrete due to the materials and labor involved. However, the price varies based on the type of stone you choose. Basic stones might cost around $5 per square foot, while premium options like bluestone could be higher.
Concrete, on the other hand, ranges from $4 to $7 per square foot, making it a more budget-friendly option initially. But remember, stone patios offer a unique aesthetic and durability that many homeowners find worth the investment.
Your choice between stone and concrete will depend on your budget, desired look, and long-term maintenance considerations.
Conclusion
At George Hardscaping, we understand that a well-crafted stone patio can transform your outdoor space into a functional and beautiful retreat. Whether you’re looking to improve your home’s curb appeal or create a new area for family gatherings, a stone patio is a solid investment.
Expert Guidance for Every Step
Our team of skilled professionals is here to guide you through every step of the stone patio installation process. From planning and design to the final touches, we ensure that your vision becomes a reality. We pride ourselves on our attention to detail and commitment to quality, helping you create an outdoor space that is both stunning and durable.
Improve Your Outdoor Spaces
With our expertise, you can confidently improve your outdoor living areas. A stone patio not only adds value to your home but also provides a versatile space for relaxation and entertainment. Consider adding features like a custom firepit or a beautifully designed walkway to further improve your patio’s functionality and aesthetic appeal.
Ready to take the next step? Visit our hardscaping service page to learn more about how George Hardscaping can transform your outdoor space. Let’s create something beautiful together.
