Installing an Outdoor Sink: Top 3 Essential Tips 2025
Installing an outdoor sink can transform your backyard into a functional and inviting space. Whether you’re setting up an outdoor kitchen or a simple washing station, it’s important to think about a few key aspects to ensure smooth installation and long-lasting use.
Here’s what you’ll need to consider:
- Water Supply: Determine if you’ll connect the sink to your home’s plumbing or a garden hose.
- Drain Options: Decide if your sink will connect to your home’s drainage, use a bucket, or drain into the landscape.
- Location: Choose a spot that’s convenient and provides the necessary access to water and drainage.
These elements are crucial to turning your backyard into a space where you can easily wash produce, clean messy tools, or entertain guests with ease.
Outdoor sinks provide a great way to connect your outdoor spaces seamlessly and add to the overall functionality and aesthetics of your property.

Planning Your Outdoor Sink
When installing an outdoor sink, thoughtful planning is key. From plumbing considerations to choosing the right location, each decision impacts the functionality and ease of installation. Let’s dive into the essentials of planning your outdoor sink setup.
Plumbing Considerations
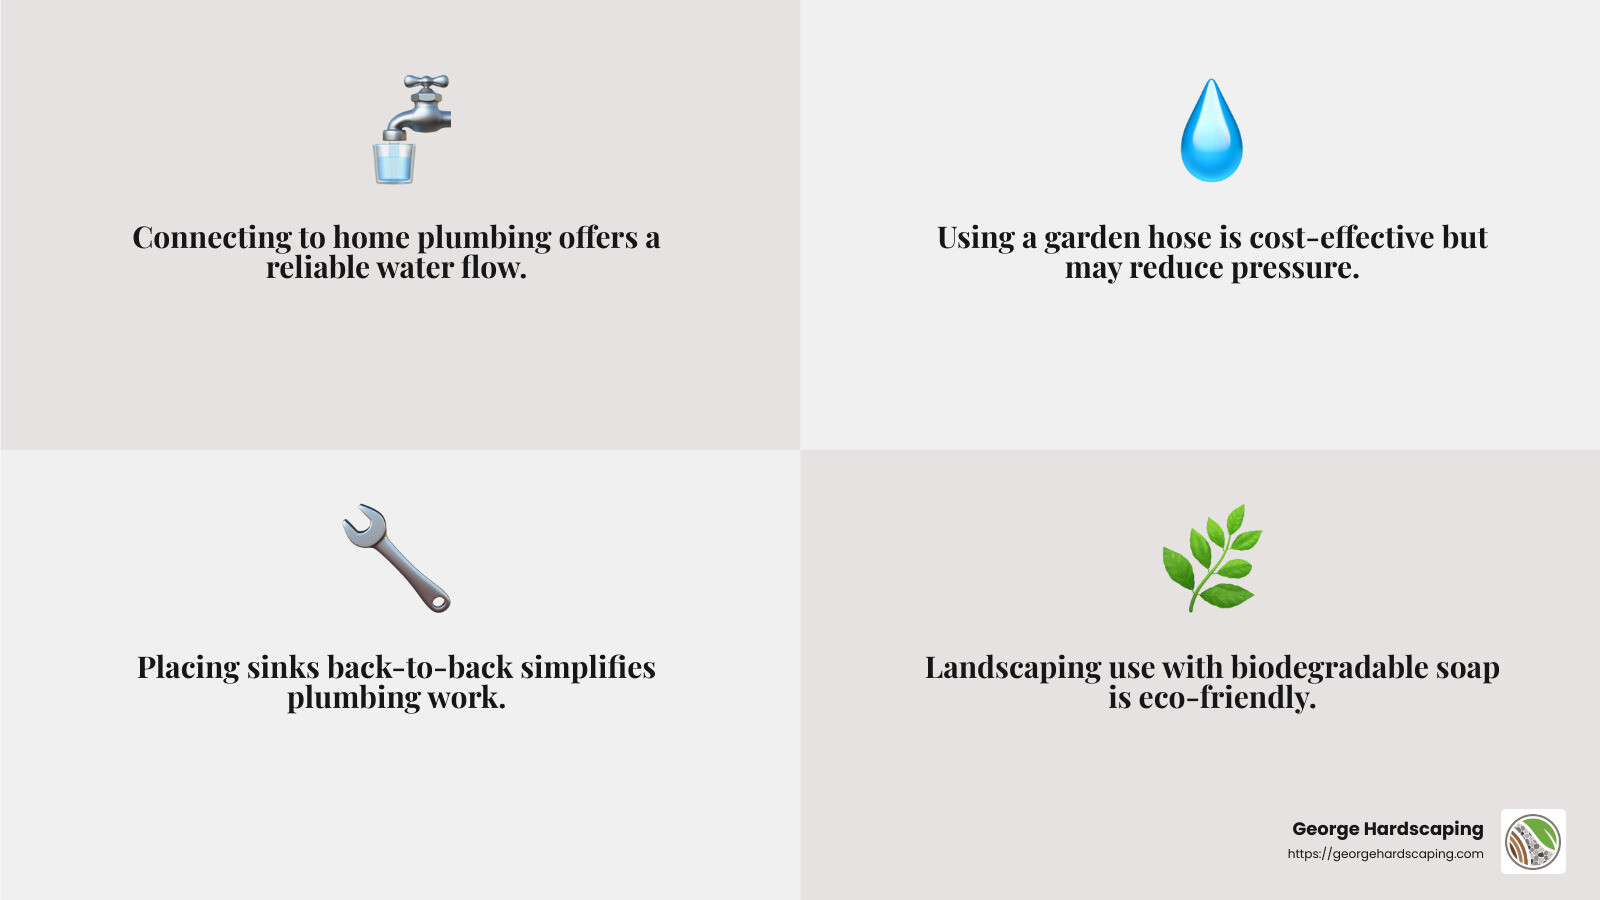
Water Source: First, decide whether your outdoor sink will connect to your home’s water lines or use a garden hose. Connecting to home plumbing offers a more reliable and stronger water flow, but it may require professional help to extend existing pipes. Using a garden hose is simpler and cost-effective but might not provide the same water pressure.
Drainage Options: Your sink can drain in one of three ways:
– Into Home Plumbing: This option is the most versatile and requires less maintenance. However, it might be pricier if plumbing isn’t nearby.
– Into a Bucket: This is a budget-friendly option but requires frequent emptying.
– Into the Landscape: Ideal if you’re using biodegradable soaps, this method is cost-effective and eco-friendly.
Location
Choosing the right location for your outdoor sink is crucial. It’s best to place it along the back or side of your home for easy access to water and drainage lines. Consider placing the sink under a roof overhang or shade structure to protect it from the elements.
In colder climates, placing the sink in a breezeway or garage can provide added protection. Remember to measure the area, allowing for at least 4 feet of clearance in front of the sink for comfortable use.
Back-to-Back Sinks
If you’re remodeling your kitchen, consider back-to-back sink installation. This setup, where an outdoor sink is placed directly opposite an indoor sink, can simplify plumbing work. However, ensure each sink has its own P-trap to prevent sewer gases from entering your home.
San Diego resident SabotFamily shared their experience on a forum, noting that “the outdoor sink drain would be within about 24 to 28 inches of the interior drain trap.” While this setup can work, it’s crucial to follow local plumbing codes and ensure proper venting to avoid drainage issues.
By carefully considering these factors, you can create a seamless and efficient outdoor sink setup that improves your backyard’s functionality and appeal.
Installing an Outdoor Sink
Once you’ve planned your setup, it’s time to focus on the actual installation of your outdoor sink. This involves selecting the right water source, ensuring proper plumbing with supply pipes and shutoff valves, and choosing the best drainage option for your needs.
Water Source
The first step in installing an outdoor sink is selecting a water source. You have two main options:
- Connecting to Home Plumbing: This provides a steady and powerful water flow. It’s the most reliable option but may require a plumber to extend your existing pipes to the outdoor sink location.
- Using a Garden Hose: This is a simpler and more economical choice. It allows for flexibility in sink positioning but may not offer the same water pressure as connecting to home plumbing.
Supply Pipe and Shutoff Valves
For a seamless installation, ensure you have the correct supply pipes and shutoff valves:
- Supply Pipe: Use durable materials like copper or PEX for the supply pipes. Ensure they are properly insulated, especially in regions with cold climates, to prevent freezing.
- Shutoff Valves: Install shutoff valves near the sink to control water flow easily. This is crucial for maintenance and in case of leaks or repairs.
Drain Options
Choosing the right drainage method is essential for functionality and compliance with local codes:
- Into Home Plumbing: This is the most versatile and low-maintenance option. It ensures wastewater is handled efficiently but may require more extensive plumbing work if pipes are not nearby.
- Into a Bucket: A cost-effective choice that requires manual emptying. It’s suitable for small-scale uses or temporary setups.
- Into the Landscape: Ideal for eco-friendly setups using biodegradable soaps. It’s a cost-effective and sustainable option but requires careful planning to avoid waterlogging.
When installing an outdoor sink, remember the advice shared by professionals: each sink should have its own P-trap to prevent sewer gases from entering your home. Proper venting is also essential to maintain efficient drainage and comply with plumbing codes.
By considering these components, you can ensure a smooth installation process and enjoy the benefits of a functional outdoor sink in your backyard.
Essential Components for Outdoor Sinks
When you’re setting up an outdoor sink, there are a few key components you need to get right to ensure everything works smoothly and safely. Let’s explore these essential parts: the P-trap, venting, and the hot-water pipe.
P-Trap
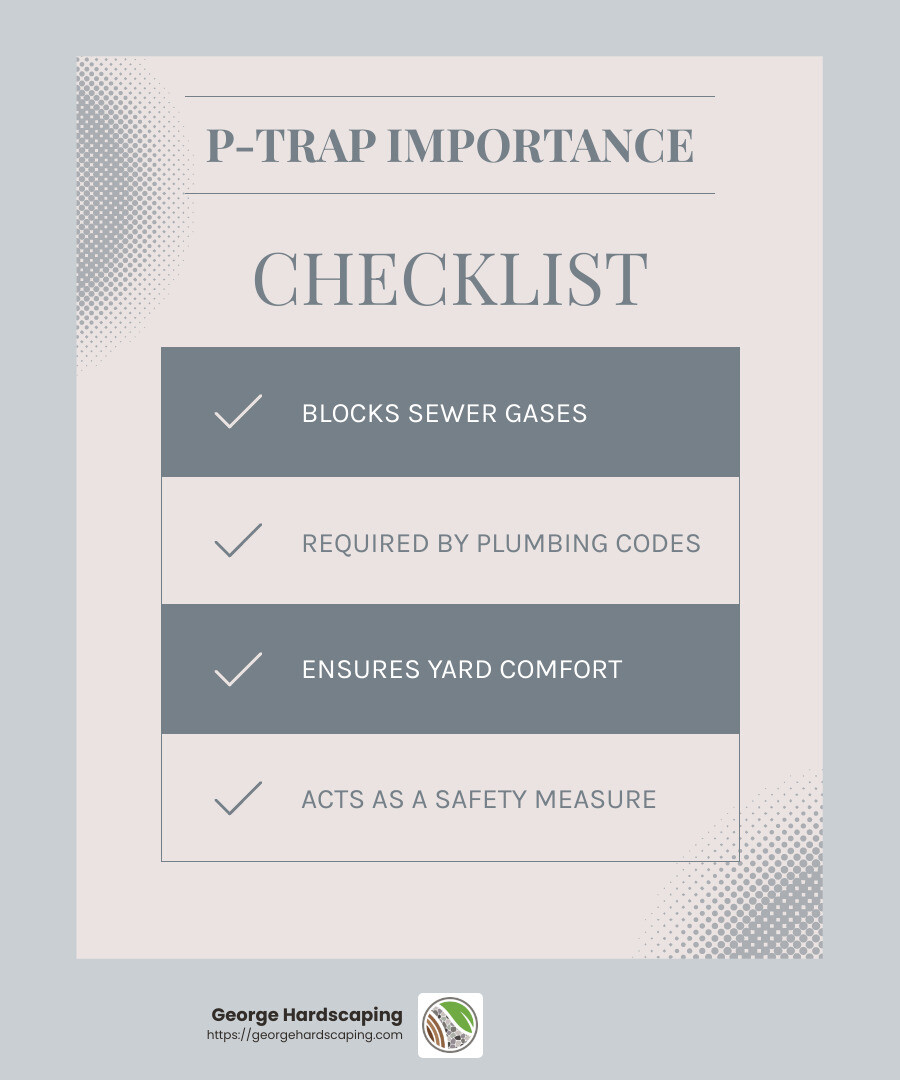
The P-trap is a crucial part of any sink setup, including outdoor sinks. Its main job is to prevent sewer gases from drifting back into your outdoor area. This U-shaped pipe holds a small amount of water, creating a seal that blocks those unpleasant gases.
- Why It Matters: Without a P-trap, you might end up with some nasty odors wafting through your yard. Plus, it’s typically required by plumbing codes to have one for each sink.
- Installation Tip: Make sure to install the P-trap directly under the sink and connect it to the drain line. This ensures that it functions correctly and keeps your space odor-free.
Venting
Proper venting is another essential component for your outdoor sink. Venting helps maintain efficient drainage by allowing air to flow through the pipes. This prevents airlocks and ensures water flows smoothly.
- The Importance of Venting: Without proper venting, you might experience slow drainage or even backflow issues. This can be particularly problematic if your outdoor sink is connected to your home’s plumbing system.
- How to Vent: If your outdoor sink is close to your home’s plumbing, you can tie into the existing vent system. Otherwise, you may need to install a new vent pipe that extends above the roofline.
Hot-Water Pipe
Having hot water available at your outdoor sink can be a real game-changer, especially if you plan to use it for cooking or cleaning.
- Benefits of Hot Water: It’s perfect for washing greasy dishes or cleaning tools. Plus, it can make your outdoor kitchen feel like a true extension of your indoor space.
- Installation Considerations: If you decide to run a hot-water pipe, ensure it’s insulated to prevent heat loss. You can connect it to your existing hot water system or consider installing a small electric water heater nearby.
By focusing on these essential components, you’ll ensure your outdoor sink is both functional and compliant with local plumbing codes. This will help you avoid common issues like sewer gas odors or drainage problems, allowing you to enjoy your backyard sink to the fullest.
Frequently Asked Questions about Outdoor Sinks
When you’re installing an outdoor sink, you might have a few questions about how to get it just right. Let’s tackle some of the most common concerns, from P-traps to ventilation.
Do I need a P-trap for an outdoor sink?
Yes, you definitely need a P-trap for your outdoor sink. This simple yet crucial component is what keeps sewer gases from escaping into your outdoor space. The P-trap holds a small amount of water, creating a barrier that blocks unpleasant odors.
- Why It’s Important: Without a P-trap, you risk having sewer gases wafting into your yard. This is not just about comfort; it’s a safety measure too.
- Code Compliance: Most plumbing codes require each fixture to have its own P-trap. Make sure to check local regulations to ensure compliance.
How to run water to an outdoor sink?
Running water to your outdoor sink involves setting up a supply pipe and shutoff valves. Here’s a simple breakdown:
- Supply Pipe: Connect your outdoor sink to a reliable water source using a durable supply pipe. This pipe will carry water from your main supply line to the sink.
- Shutoff Valves: Install shutoff valves to easily control the water flow. These are handy for maintenance or when you need to winterize your sink.
- Installation Tip: If you’re not sure about the installation, consulting a licensed plumber can ensure everything is set up correctly and safely.
Does an outdoor sink need a vent?
Yes, proper ventilation is critical for your outdoor sink. Venting allows air to flow through the pipes, preventing airlocks and ensuring efficient drainage.
- Why You Need Venting: Without it, you could face slow drainage or backflow issues. Venting is essential for maintaining a smooth water flow.
- How to Vent: If your outdoor sink is close to your home’s plumbing, you can connect to the existing vent system. Otherwise, you might need to install a new vent pipe that extends above the roofline.
By addressing these key questions, you’ll be well on your way to enjoying a functional and hassle-free outdoor sink. Next, we’ll dive into some advanced tips for enhancing your outdoor kitchen setup.
Conclusion
At George Hardscaping, we believe that outdoor spaces should be as beautiful and functional as the inside of your home. By installing an outdoor sink, you can transform your backyard into a versatile oasis that meets all your needs, from gardening to hosting.
Our team specializes in creating stunning outdoor environments across Essex County, MA. We know how to blend aesthetics and functionality seamlessly. Whether you’re in Beverly or Newburyport, our craftsmanship ensures that your outdoor sink not only works efficiently but also complements your landscape design.
Why Choose Us?
- Expert Craftsmanship: Our skilled team has years of experience in masonry and hardscaping, ensuring your outdoor sink is both durable and stylish.
- Customized Solutions: We tailor each project to fit your unique space and lifestyle, making sure every detail meets your vision.
- Comprehensive Services: From patios to custom firepits, we cover all aspects of outdoor living. Explore our outdoor kitchen and fireplace services to see how we can improve your backyard even further.
By choosing George Hardscaping, you’re investing in a space that brings joy and utility to your everyday life. Let’s make your backyard dreams a reality. Contact us today to start planning your perfect outdoor sink installation!
