How to Install Stone Steps on a Slope: Top 7 Easy Tips
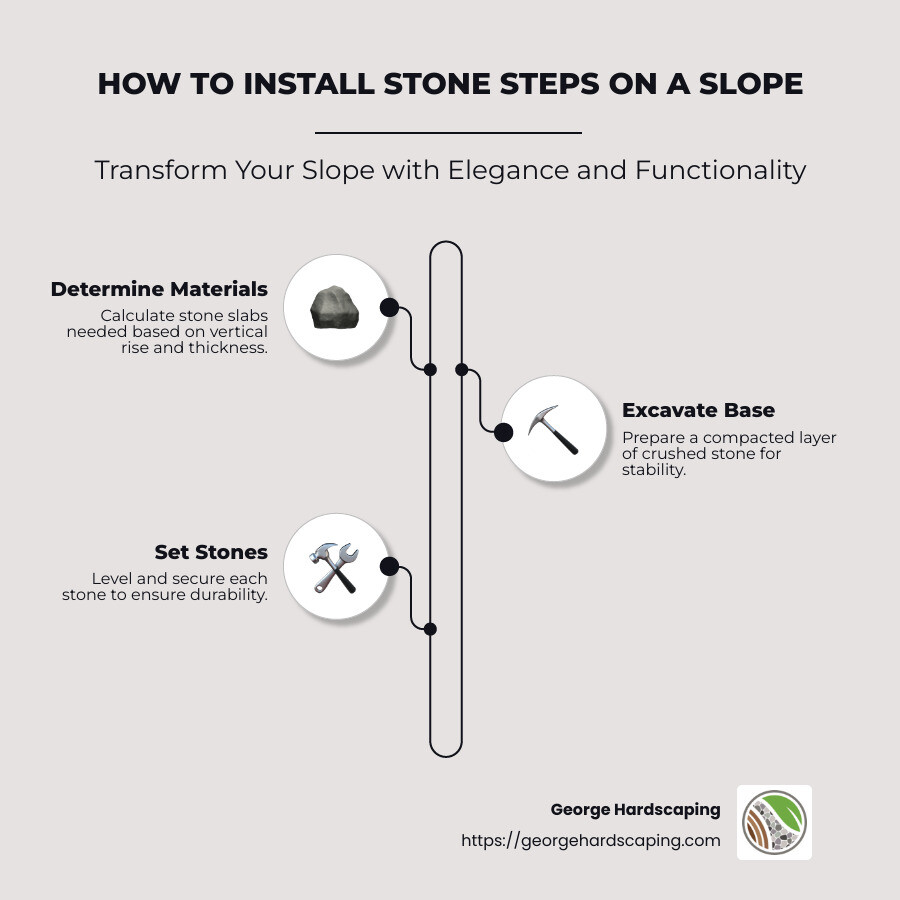
How to install stone steps on a slope might seem daunting at first, but it can be approached with a simple step-by-step process:
- Determine the number of stone slabs needed based on the slope’s vertical rise and the stone thickness, aiming for comfortable 5″ to 7″ high steps.
- Excavate the base of the first step, adding a sturdy, compacted layer of crushed stone for stability.
- Set the stones, ensuring each is level and secure to withstand weather conditions.
Slopes can present unique landscaping challenges, but turning these inclines into functional walkways with stone steps can improve both the beauty and utility of your property. Stone steps are not just practical for traversing tricky elevations; they also add an element of timeless elegance to outdoor spaces. Imagine changing a steep backyard into a stunning pathway that connects different levels of your garden while blending seamlessly into the natural environment.
By incorporating detailed craftsmanship and strategic design, stone steps can help manage soil erosion on slopes while serving as eye-catching features. When installed properly, these steps make navigating your property safer and more enjoyable, giving every garden a more inviting and structured look.
Key how to install stone steps on a slope vocabulary:
– how to build outdoor stone stairs
– how to install natural stone steps
Preparing the Foundation
Before you start installing stone steps on a slope, preparing the foundation is crucial to ensure stability and longevity. A well-prepared foundation not only supports the stones but also prevents them from shifting over time.
Slope Stability
First, evaluate the slope stability. A slope that is too steep or prone to erosion can pose significant challenges. In such cases, consulting with a landscape professional might be beneficial. They can assess the slope and recommend necessary reinforcements.
Soil Conditions
Understanding the soil conditions is also key. Different types of soil have varying load-bearing capacities. For example, clay soils can become very slippery when wet, while sandy soils may not provide enough support. You might need to amend the soil or use additional stabilization techniques if the soil is too loose or unstable.
Foundation Preparation Steps
- Excavation: Begin by digging a trench for the first step. The trench should be about 12 inches deep to accommodate a solid base. This depth ensures that the stone sits securely and doesn’t shift with time.
- Crushed Stone Base: Fill the trench with a 10-inch layer of ¾-inch crushed stone. This material provides excellent drainage and a firm base for the stone slab.
- Compaction: Compact the crushed stone using a tamper. This step is vital as it prevents the stone from settling unevenly. A compact base is essential for the stability of each step.
- Filter Fabric: Place a woven geotextile fabric over the compacted stone. This prevents the crushed stone from mixing with the soil, maintaining the integrity of the base.
- Fine Crushed Stone Layer: Add a 2-inch layer of finer crushed stone on top. This layer acts as a setting bed for the stone slab, allowing for minor adjustments in height and ensuring a level surface.
- Level and Pitch: Ensure the surface is level but slightly pitched forward (about 1/4 inch per foot). This pitch helps in drainage, preventing water from pooling on the steps.

By focusing on these foundational steps, you lay the groundwork for a successful installation of stone steps. Proper preparation ensures your steps are not only beautiful but also safe and durable, ready to withstand the elements and the test of time.
Next, we will dive into the intricacies of laying the first stone step, where alignment and securing methods come into play to set the stage for the rest of the installation process.
How to Install Stone Steps on a Slope
Creating a pathway with stone steps on a slope adds both beauty and functionality to your landscape. Follow this guide to ensure a successful installation.
Laying the First Stone Step
- Stone Selection: Choose stone slabs that are thick, durable, and have a rough texture. Options like bluestone, granite, and sandstone are excellent for outdoor use. Ensure there are no cracks or gashes, as these can weaken the stone over time.
- Base Materials: The first step’s base is crucial. After preparing your foundation with a compacted layer of ¾-inch crushed stone and a fine crushed stone setting bed, it’s time to place the first stone.
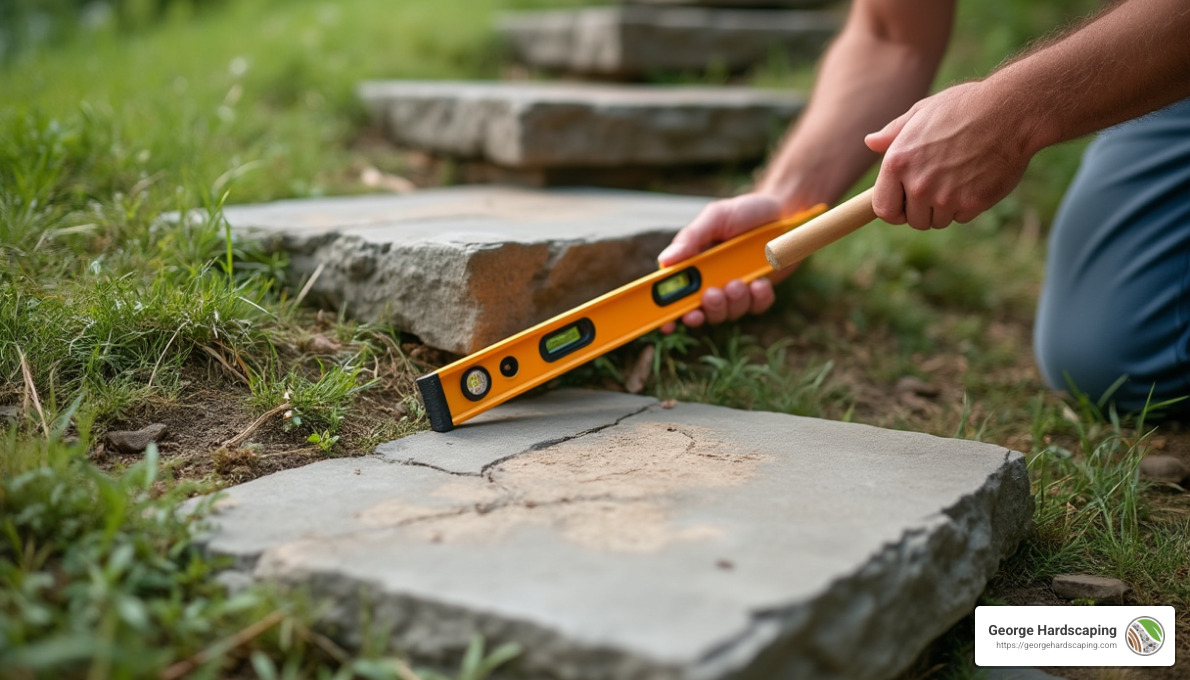
- Alignment: Carefully align the stone using a carpenter’s level. The step should be level from side to side but slightly pitched forward. This pitch helps water runoff, preventing pooling and potential slipping hazards.
- Securing the Stone: Once the stone is correctly aligned, use a rubber mallet to tap it securely into the setting bed. This ensures the stone is stable and less likely to shift over time.
- Visual Check: Step back and visually check the alignment and levelness. Adjust as necessary before moving on to the next step.
Continuing with Additional Steps
- Bottom to Top Approach: Start from the bottom of the slope and work your way up. This approach allows you to build on a solid base, ensuring each step is securely anchored.
- Step Spacing: Maintain consistent spacing between steps. The rise (height) of each step should be between 5 to 7 inches, providing a comfortable ascent. Adjust the setting bed depth to achieve the desired height.
- Securing Methods: For each subsequent step, repeat the process of laying a compacted base, aligning, and securing the stone. Ensure each stone overlaps the one below it slightly, enhancing stability and reducing the risk of shifting.
- Check for Stability: After placing each stone, check for stability. Use a level to ensure the step is even and the pitch is correct.
By carefully following these steps, you can install stone steps that are both aesthetically pleasing and durable. The key lies in meticulous preparation and consistent execution, ensuring each stone is perfectly placed and secured.
Next, we’ll explore how to improve the stability and aesthetics of your stone steps with edging and decorative elements.
Enhancing Stability and Aesthetics
Once your stone steps are securely in place, it’s time to add stability and charm to your landscape. Here are some simple ways to improve both the functionality and beauty of your stone steps.
Edging Installation
Edging is essential for keeping soil and mulch in place, reducing erosion around your steps. It also provides a neat, finished look.
- Materials: Use durable materials like stone, metal, or plastic for edging. Stone options like cobblestones or small boulders can complement your steps beautifully.
- Installation: Dig a shallow trench along the sides of your steps. Place the edging material snugly into the trench, ensuring it’s level and secure. This creates a barrier that helps maintain the integrity of your steps.
Decorative Elements
Adding decorative elements can transform your steps from simple to stunning.
- Lighting: Install solar lights along the edges of your steps. This not only highlights their beauty but also improves safety at night.
- Ornamental Stones: Scatter decorative stones or pebbles along the sides of your steps. This adds texture and visual interest.
Plant Integration
Plants bring life and color to your stone steps, creating a seamless blend with nature.
- Choosing Plants: Opt for hardy, low-maintenance plants that thrive in your climate. Consider plants like creeping thyme or sedum, which can handle foot traffic and add greenery.
- Planting Tips: Plant them along the edges or in gaps between steps. Ensure they have enough soil and are well-watered until established.
By incorporating these elements, your stone steps will not only be more stable but also a striking feature in your landscape. Next, we’ll address some common questions about installing stone steps on a slope, ensuring you’re equipped with all the information you need.
Frequently Asked Questions about Installing Stone Steps on a Slope
How do you lay stone steps on a slope?
Laying stone steps on a slope might sound tricky, but with the right approach, it can be straightforward. Foundation preparation is the first crucial step. You’ll want to start by determining the vertical rise of your slope. This will help you figure out how many stone slabs you need. Use a straight board, a tape measure, and a carpenter’s level to get this measurement accurately.
Step alignment is key to ensuring your steps are safe and comfortable to walk on. Once you have your foundation set, align each stone slab carefully. Begin from the bottom of the slope and work your way up to ensure stability and proper spacing.
What do you put under stone steps?
The material you place under your stone steps is vital for their longevity and stability. Base materials like crushed stone or gravel create a solid foundation. Start by digging a hole about 12 inches deep for the first step. Line the hole with woven geotextile fabric to prevent the crushed stone from sinking into the soil.
Fill the hole with 10 inches of ¾” crushed stone, compacting it in layers for stability. Top it off with a 2-inch layer of fine crushed stone to create a setting bed that promotes drainage. This ensures that water flows away from your steps, preventing erosion or damage.
Paver edgers can also be used to keep your stones in place. They act as a border, preventing soil and mulch from encroaching onto your steps, and add a finished look to your project.
How do you get stones to stay on a slope?
Securing stones on a slope requires thoughtful support methods. Ensure your base is well-compacted, as this provides the necessary stability. You can make adjustments to your stone’s height by altering the depth of the setting bed.
For additional security, consider using concrete or sand to help lock the stones in place. Concrete can provide a more permanent solution, while sand is easier to adjust if you need to reposition the stones.
By following these steps and using the right materials, you’ll ensure your stone steps not only stay put but also improve the beauty and functionality of your outdoor space.
Conclusion
At George Hardscaping, we believe that changing your outdoor space can be both an art and a science. Quality craftsmanship is at the heart of everything we do, whether we’re installing stone steps, crafting custom patios, or designing unique firepits. Our team is dedicated to enhancing both the beauty and functionality of your landscape, ensuring it stands out in the North Shore area.
Outdoor change doesn’t just mean adding new features; it’s about creating an environment that feels like an extension of your home. Our expertise in masonry and hardscaping allows us to turn steep slopes into stunning stone step pathways, making challenging landscapes both accessible and attractive.
If you’re ready to take the next step in changing your outdoor area, we invite you to explore our stairs and walkways services. Whether you’re in Beverly, Essex, or any of our other service areas, our team is here to help you achieve your vision with precision and care.
Accept the change, and let us guide you in crafting a landscape that reflects your style and improves your outdoor living experience.
