How to Build Stone Steps: Top 4 Stunning Tips 2024
When it comes to enhancing your outdoor space, nothing beats the charm and functionality of stone steps. How to build stone steps is a question many homeowners ponder as they imagine changing their landscapes into beautiful and practical areas for relaxation or entertaining.
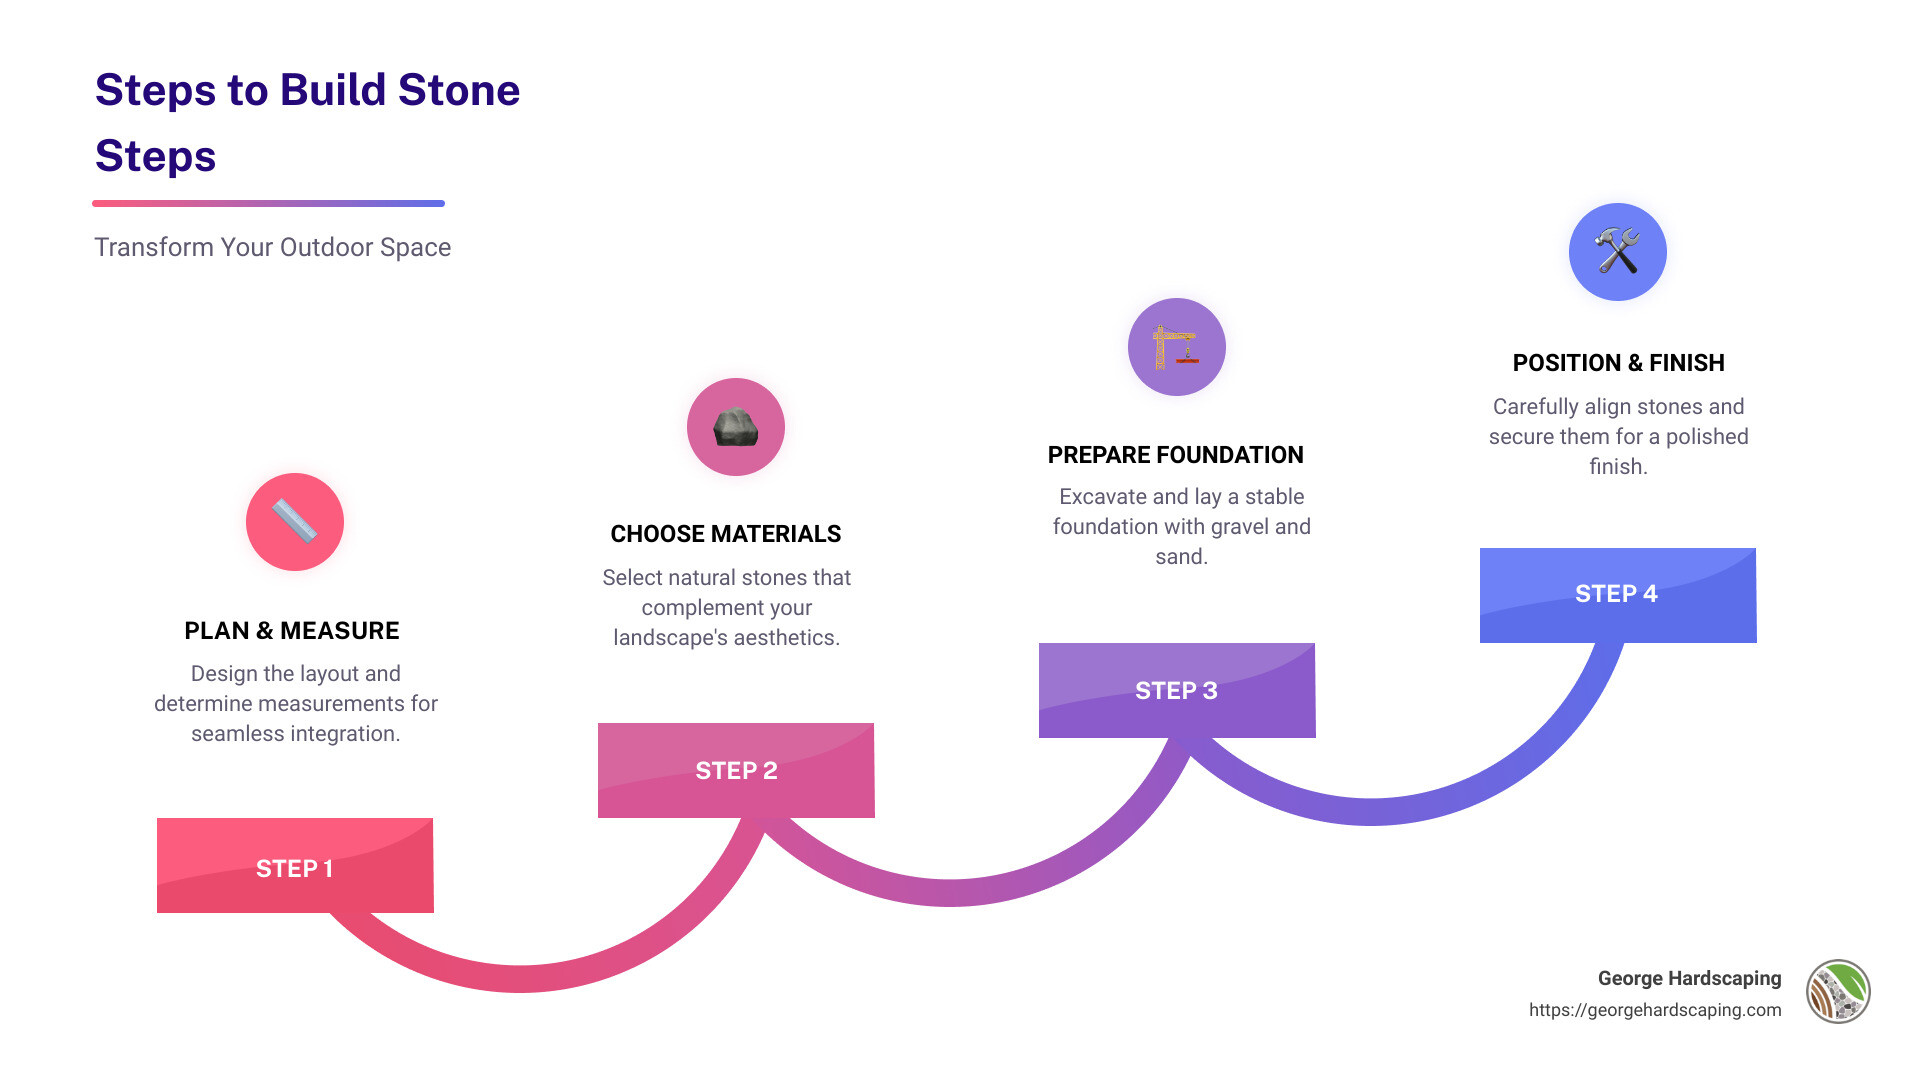
Here’s a quick look at the process:
- Plan the design and measure the space to ensure the steps fit seamlessly into your outdoor area.
- Choose the right materials, like natural stone, that complement your landscape’s aesthetics.
- Prepare the ground and create a solid foundation to ensure durability and safety.
- Position and align each stone carefully for stability and a polished finish.
Stone steps not only offer a practical pathway through your garden but also add an element of timeless beauty to your property. Their natural allure and durability stand the test of time, making them a worthwhile investment for any Essex County, MA homeowner looking to boost their property’s curb appeal and functionality.
Planning Your Stone Steps
Planning is the most crucial part of building stone steps. This phase sets the foundation for success. Here’s how to approach it:
Measurements Matter
Start by measuring the area where you plan to install the steps. Accurate measurements ensure that your steps will fit perfectly and function well. Consider the overall run and rise of your staircase. The run is the horizontal length, and the rise is the vertical height from the base to the top.
- Run: Measure the horizontal distance from the start to the end of the staircase.
- Rise: Measure the total height from the ground level at the bottom to the top step surface.
Designing Your Steps
Design your steps to blend seamlessly with your outdoor space. Think about the aesthetics and how the steps will look with the rest of your garden or yard. Consider using materials like natural stone, which offer a timeless and durable look.
Elevation and Slope
Understanding the elevation and slope of your site is essential. This will help determine the number of steps you need and their dimensions. A gentle slope may require fewer steps, while a steep one might need more.
- Elevation: Consider how high each step needs to be. Standard step height is usually between 6″ and 7″.
- Slope: Ensure that the slope is consistent to avoid awkward steps.
Planning for Safety
Safety is paramount. Ensure that each step is uniform in height and depth to prevent tripping. A good rule of thumb is to keep the step depth between 12″ and 18″. Also, consider adding handrails if the steps are steep or in a high-traffic area.

Visualizing the Layout
Before you start digging, sketch a layout of your planned steps. This visual guide will help you stay on track during construction. Use markers or strings to outline the area on the ground.
By carefully planning the measurements, design, elevation, and slope of your stone steps, you set the stage for a successful build. This thoughtful preparation ensures that your steps are not only beautiful but also safe and functional.
Next, we’ll dive into the materials and tools you’ll need to bring your stone steps to life.
Materials and Tools Needed
Building stone steps is a rewarding DIY project, but it requires the right materials and tools to ensure success. Let’s break down what you’ll need to get started.
Natural Stone
Natural stone is the star of your stone steps. Its durability and timeless beauty make it a popular choice. Options like flagstone, limestone, and sandstone are excellent for withstanding outdoor elements while adding elegance to your landscape. When selecting stone, consider both aesthetics and the practicalities of moving and positioning them.
Gravel and Bedding Sand
A sturdy base is crucial for long-lasting steps. You’ll need A-gravel to form a solid foundation. This type of gravel provides stability and helps with drainage. Layer about 4″-6″ of A-gravel per step.
Bedding sand is used to level the base and provide a smooth surface for placing your stones. A layer of ½” to 1″ of sand helps with minor adjustments and ensures that each step sits securely.
Essential Tools
- Shovel: For digging out the area and handling gravel and sand.
- Level: Ensures each step is even and properly aligned. A level step is a safe step.
- Dolly: Moving stones can be physically demanding. A dolly helps transport heavy stones from one place to another with ease.
Practical Tips
- Shovel: Choose a sturdy shovel with a comfortable grip. You’ll use it extensively for digging and leveling.
- Level: A long level provides better accuracy across wider steps.
- Dolly: Opt for a heavy-duty dolly with a weight capacity suitable for your stones.
By gathering these materials and tools, you’re well-prepared to start on your stone step project. Proper preparation with the right supplies ensures a smoother process and a beautiful, durable result.
Next, we’ll guide you through the step-by-step process of building your stone steps, starting with measuring and preparing the area.
How to Build Stone Steps
Step 1: Measure and Prepare the Area
Before laying your first stone, you need precise measurements and a clear plan. Start by calculating the total rise and run of your steps. This means measuring the vertical height (rise) and horizontal length (run) your steps will cover. With these numbers, you can determine how many steps you’ll need and their dimensions.
Excavate the Area: Use a shovel to dig out the area where your steps will be. Make sure to dig deep enough to accommodate both the base material and the thickness of the stones. This excavation should be slightly wider than your stones to allow for adjustments.
Level the Ground: Use a level to ensure the base area is flat and even. This step is crucial for stability and safety. Uneven ground can lead to wobbly steps and potential accidents.
Step 2: Lay the Foundation
A solid foundation is key to durable stone steps. Start by spreading a layer of A-gravel about 4″-6″ thick. This gravel provides essential stability and aids in drainage, preventing water from pooling and causing damage.
Add Bedding Sand: On top of the gravel, spread ½” to 1″ of bedding sand. This layer allows for fine adjustments and helps the stones settle evenly. Check the sand layer with your level, adjusting as needed to maintain an even surface.
Step 3: Position the Stone Steps
Now, it’s time to lay the stones. Start at the bottom and work your way up, placing each stone with care. Use a dolly to move heavy stones and avoid injury.
Placement and Alignment: Place each stone on the prepared base and check alignment using your level. Ensure each step has a slight forward pitch for water runoff, preventing puddles and ice formation.
Leveling: Adjust the bedding sand as needed to achieve perfect leveling. A well-leveled step is not only safer but also more visually pleasing.
Step 4: Secure and Finish
With your stones in place, it’s time to secure them. Use mortar to fill any gaps between stones, providing additional stability and a polished look. Be sure to clean any excess mortar from the stones before it dries.
Add Finishing Touches: Spread a layer of gravel around the steps to improve drainage and blend the steps with the surrounding landscape. Consider adding plants or lighting to highlight your new steps and improve nighttime visibility.
By following these steps, you can create a set of stone steps that are both functional and beautiful, elevating your outdoor space. With careful planning and execution, your stone steps can last for decades, providing a safe and attractive path through your garden or yard.
Frequently Asked Questions about Building Stone Steps
What is the best base for stone steps?
When building stone steps, the foundation is crucial for stability and longevity. The best base typically involves a combination of A-gravel and bedding sand.
- A-gravel: This coarse material forms the primary layer of the base. Spread about 4″-6″ thick, it provides excellent drainage and stability. A-gravel prevents water from pooling under the steps, which could lead to shifting or settling over time.
- Bedding Sand: After laying the gravel, add a ½” to 1″ layer of bedding sand. This sand allows for fine adjustments when positioning the stones, ensuring they are level and securely seated.
How much does it cost to build stone steps?
The cost of building stone steps can vary widely based on several factors:
- Stone Type: Different stones come with different price tags. Natural stones like Bluestone or Flagstone tend to be more expensive but offer a high-end look. Precast concrete is usually more affordable.
- Installation Difficulty: If your steps are on a slope or require intricate design work, the labor costs can increase. More challenging installations demand more time and expertise.
- Material Costs: Besides the stones themselves, consider the cost of gravel, sand, and mortar. These materials, though less expensive than the stones, still add to the overall budget.
In general, expect to pay more for high-quality stones and complex installations. However, investing in durable materials can save money in the long run by reducing maintenance and replacement costs.
Are stone steps cheaper than concrete?
The cost comparison between stone and concrete steps depends on the specific materials and the complexity of the project:
- Material Costs: Concrete is generally less expensive than natural stone. It can mimic the look of stone at a lower price point. However, it may not provide the same aesthetic appeal or durability.
- Installation: Concrete can be easier to install, especially for straightforward designs, which might reduce labor costs. However, for custom or intricate designs, both materials may require similar levels of expertise and time.
In summary, while concrete steps might be cheaper initially, natural stone steps offer a unique look and long-term durability that can justify the higher initial investment. Your choice will depend on your budget, desired aesthetics, and long-term goals for your outdoor space.
Conclusion
At George Hardscaping, we believe that crafting beautiful and functional outdoor spaces is both an art and a science. Building stone steps is no exception. Our team is dedicated to delivering projects that improve the aesthetics and usability of your property while maintaining the highest standards of quality and craftsmanship.
Located in Essex County, MA, we specialize in creating custom hardscaping solutions that suit the unique needs of each client. Our expertise in patios, walkways, retaining walls, steps, and custom firepits ensures that we can transform any outdoor area into a stunning and functional space. We take pride in our meticulous attention to detail and our commitment to using only the finest materials.
Stone steps are not just a practical addition to your garden; they are a testament to enduring beauty and resilience. Whether you’re aiming to create a grand entrance or a simple garden path, our team is here to help you every step of the way.
Ready to lift your outdoor space with expertly crafted stone steps? Contact George Hardscaping today to start your journey towards a more beautiful and functional home environment. Let us bring your vision to life with our unparalleled craftsmanship and dedication to quality.
